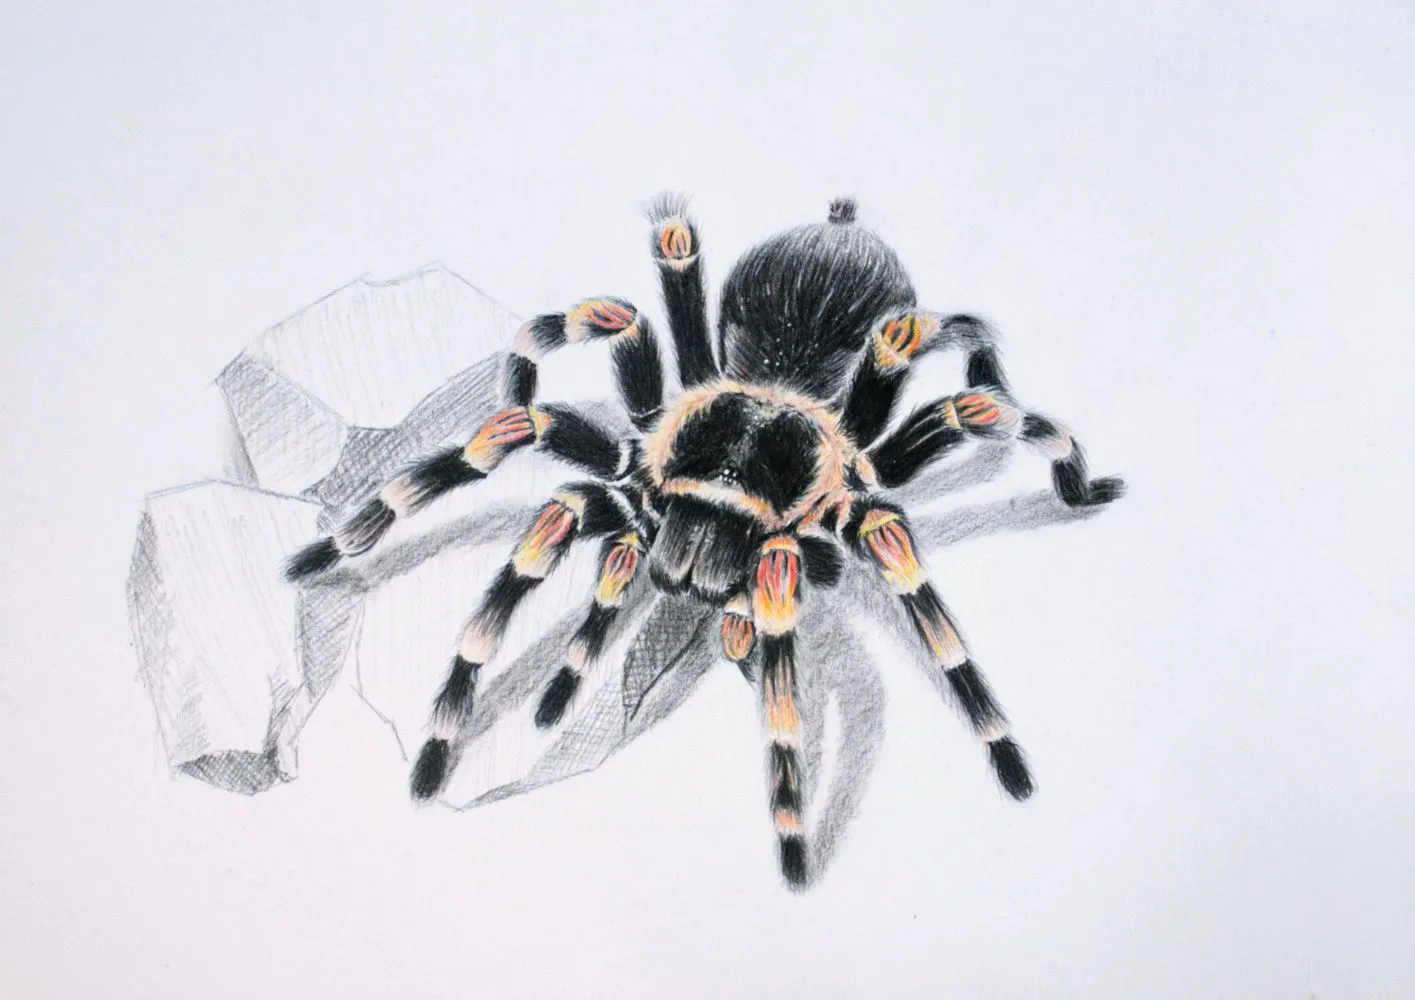
Understanding the 3D Tarantula Drawing
3D tarantula drawing is more than just sketching a spider; it is about creating an illusion of depth and volume on a flat surface. This technique uses shading, highlights, and perspective to make the tarantula appear to leap off the page. Successfully creating a 3D effect requires understanding how light interacts with the subject and applying specific techniques to mimic that interaction. This guide will walk you through the essential steps to bring your tarantula drawings to life, transforming them from simple sketches into captivating works of art. It is essential to understand that the goal is not just to draw a picture, but to create an experience for the viewer, making them feel like they can reach out and touch the furry, formidable creature.
Why Draw Tarantulas in 3D?
Drawing tarantulas in 3D offers several advantages, enhancing the visual impact of your artwork. The three-dimensional effect adds realism, making your drawings more engaging and attracting the viewer’s attention. It allows you to showcase the intricate details of a tarantula, such as its hairy texture and complex anatomy, which flat drawings often fail to capture. Furthermore, practicing 3D drawing techniques can significantly improve your overall drawing skills, including shading, perspective, and understanding of light and shadow. Ultimately, 3D tarantula drawings are a fantastic way to combine artistic expression with a fascination for nature, resulting in visually stunning pieces that stand out.
Materials Needed for 3D Tarantula Drawing
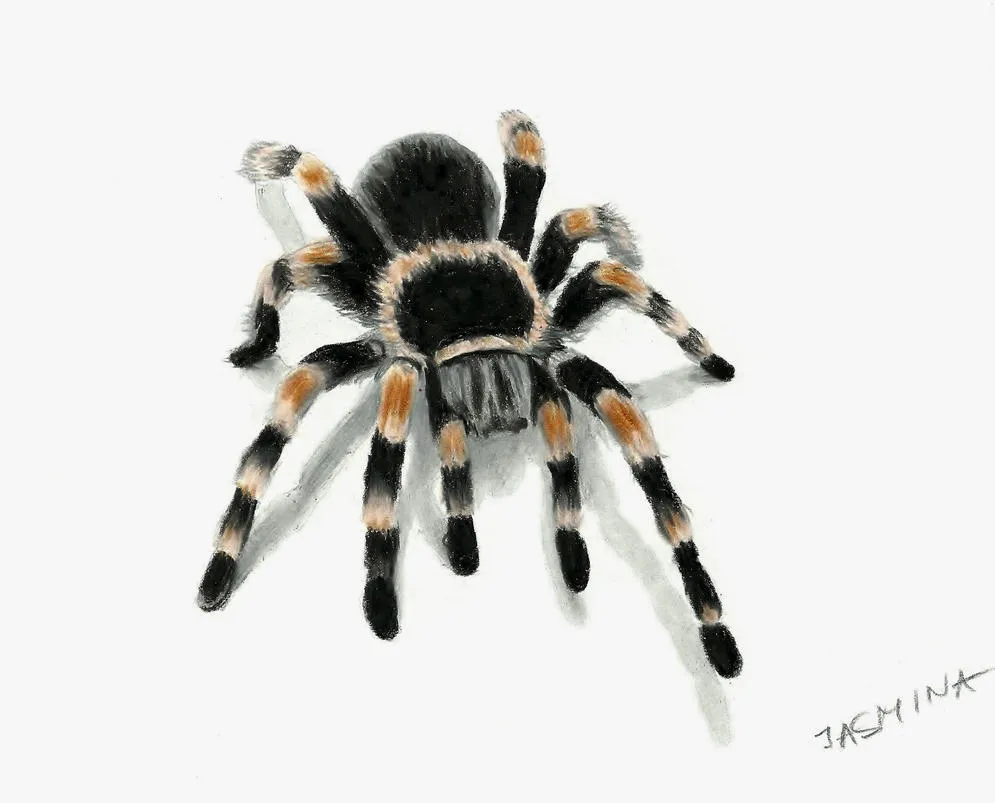
The right materials are crucial for achieving a realistic 3D tarantula drawing. Investing in high-quality drawing supplies will greatly enhance your results. You don’t need a lot of things to start, but choosing the right ones can make a big difference in the final result. The following sections will explain the most important items. Make sure that you keep the materials clean and well-organized, so that you are ready to draw whenever the inspiration strikes. It’s also important to have a dedicated workspace that is well-lit to ensure accuracy in your shading and detailing processes.
Pencils and Paper Selection
For pencils, a range of graphite hardness is essential. Start with softer pencils (2B, 4B, or 6B) for shading and creating dark areas. Use harder pencils (HB or 2H) for initial sketching and finer details. High-quality drawing paper is another must-have. Opt for smooth or medium-textured paper that allows for easy blending and layering of graphite. Avoid thin paper, as it may buckle or tear with heavy shading. A sketchbook is helpful to practice, and you can use individual sheets for more detailed, finished pieces. The right paper and pencil can make a big difference in the results.
Essential Drawing Tools
Besides pencils and paper, several other tools are essential for a successful 3D tarantula drawing. A blending stump or tortillon is great for smoothing out shading and creating seamless gradients. An eraser is vital for correcting mistakes and adding highlights. Consider using a kneaded eraser, which can be molded into different shapes for precise erasing. A sharpener is necessary for keeping your pencils at the ideal point. A ruler helps draw straight lines or measure proportions accurately. You could also get a drawing board or surface to work on. These tools combined make the process much easier and help you achieve a professional looking result.
Step-by-Step Guide to Drawing a 3D Tarantula
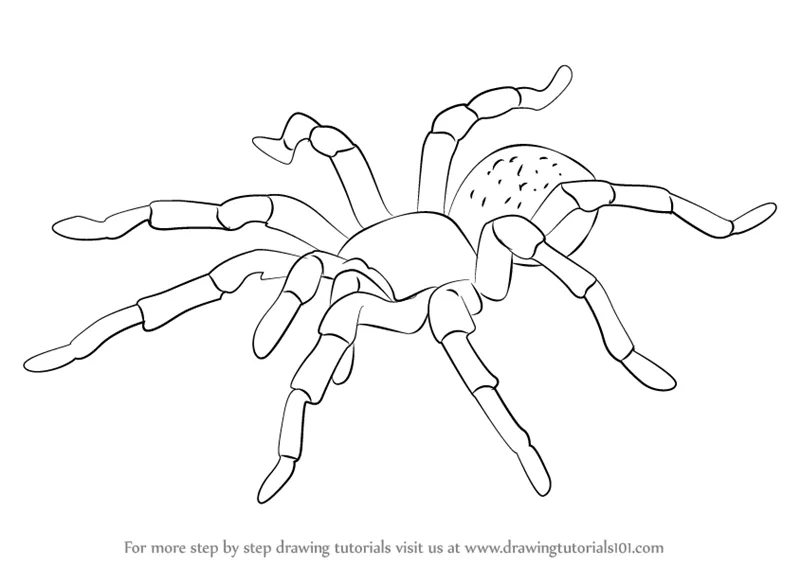
Creating a 3D tarantula drawing requires patience and attention to detail. This step-by-step guide will help you navigate the process, from the initial sketch to the final touches. Each step builds upon the previous one, ensuring you achieve a realistic and visually stunning result. By following these instructions, you’ll learn the techniques needed to transform a simple outline into a vibrant 3D artwork. Remember to take your time and enjoy the process, experimenting with different techniques to find what works best for you. Also, the more you practice these steps, the more natural the process will become.
Creating the Basic Tarantula Shape
Begin by sketching the basic outline of the tarantula. Start with a rough oval for the cephalothorax (the head and thorax combined) and a slightly larger, rounded shape for the abdomen. Use light pencil strokes to ensure you can easily erase and adjust the shape. Add the basic form of the legs, keeping in mind the tarantula’s posture and pose. At this stage, you are only establishing the foundational structure. Refine the basic shapes until the proportions look correct. This initial structure is essential for building a realistic and proportionate drawing. Pay close attention to the sizes and the angles. This is the foundation that will determine the final look of your art.
Adding Details to the Tarantula’s Body
Once the basic shape is set, add details to the body. Include the chelicerae (the mouthparts) and the pedipalps (small appendages near the mouth) in the cephalothorax. Define the segmentation of the abdomen by adding slight lines or curves. Consider the overall texture of the tarantula’s body. Some species have a smooth exoskeleton, while others have a hairy or textured appearance. Use short, light strokes to suggest the direction of the hairs if the tarantula is hairy. This is where your drawing begins to come to life. Make sure you follow the reference images to maintain accuracy.
Drawing the Legs and Pedipalps
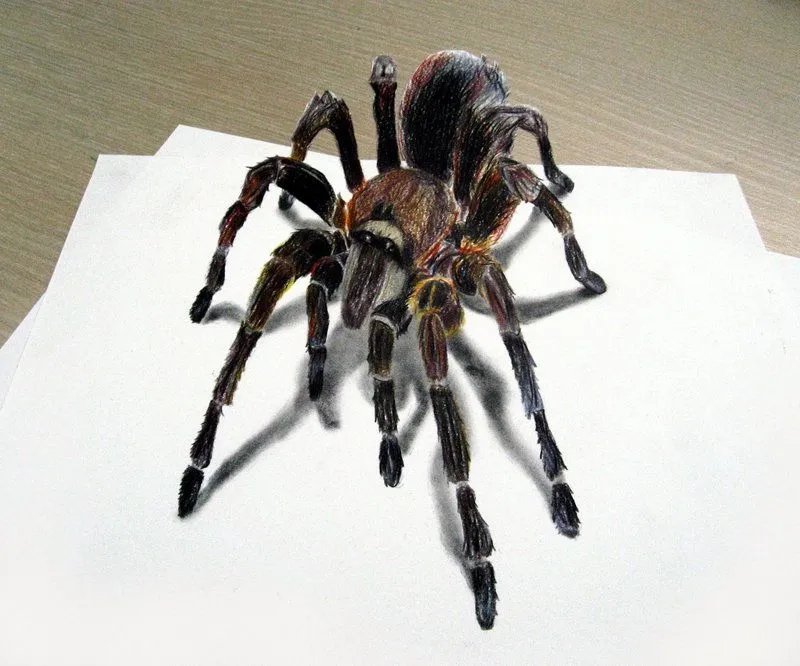
The tarantula’s legs and pedipalps are crucial for its distinctive appearance. Draw the legs extending from the cephalothorax, considering their length, thickness, and the angles at which they meet the body. Use curved lines to illustrate the joints. The pedipalps should be drawn near the mouth and are often smaller than the legs. Pay attention to the direction in which the hairs are growing on the legs and pedipalps. Add subtle shadows under the legs to give them a sense of depth and make them appear to be resting on the ground. This detail will significantly enhance the 3D effect of your drawing, making it feel more lifelike.
Adding Texture and Realism
Achieving a realistic texture is one of the most critical steps in 3D tarantula drawing. Focus on the body and legs, as they have a very distinctive hairy texture. Use small, fine strokes to create the illusion of fur. Vary the direction and length of the strokes to reflect the natural texture. For smooth areas, such as the exoskeleton, use subtle shading and blending techniques to create a polished appearance. Consider the way light hits the tarantula’s body and how it reflects on the surface. This attention to detail will significantly enhance the realism of your drawing. These techniques also add personality and character to your art.
Shading Techniques for 3D Effect
Shading is fundamental to creating the 3D effect. Start by identifying your light source. This determines where the shadows and highlights should fall. Use darker shades for areas away from the light source and lighter shades for areas directly exposed to the light. Layer the shading gradually, using a range of pencil grades to create smooth transitions between light and dark areas. Avoid harsh lines by blending the shades with a blending stump or your finger. Remember that different areas of the tarantula will reflect light in distinct ways. This is an advanced but rewarding method to practice.
Light and Shadow Application
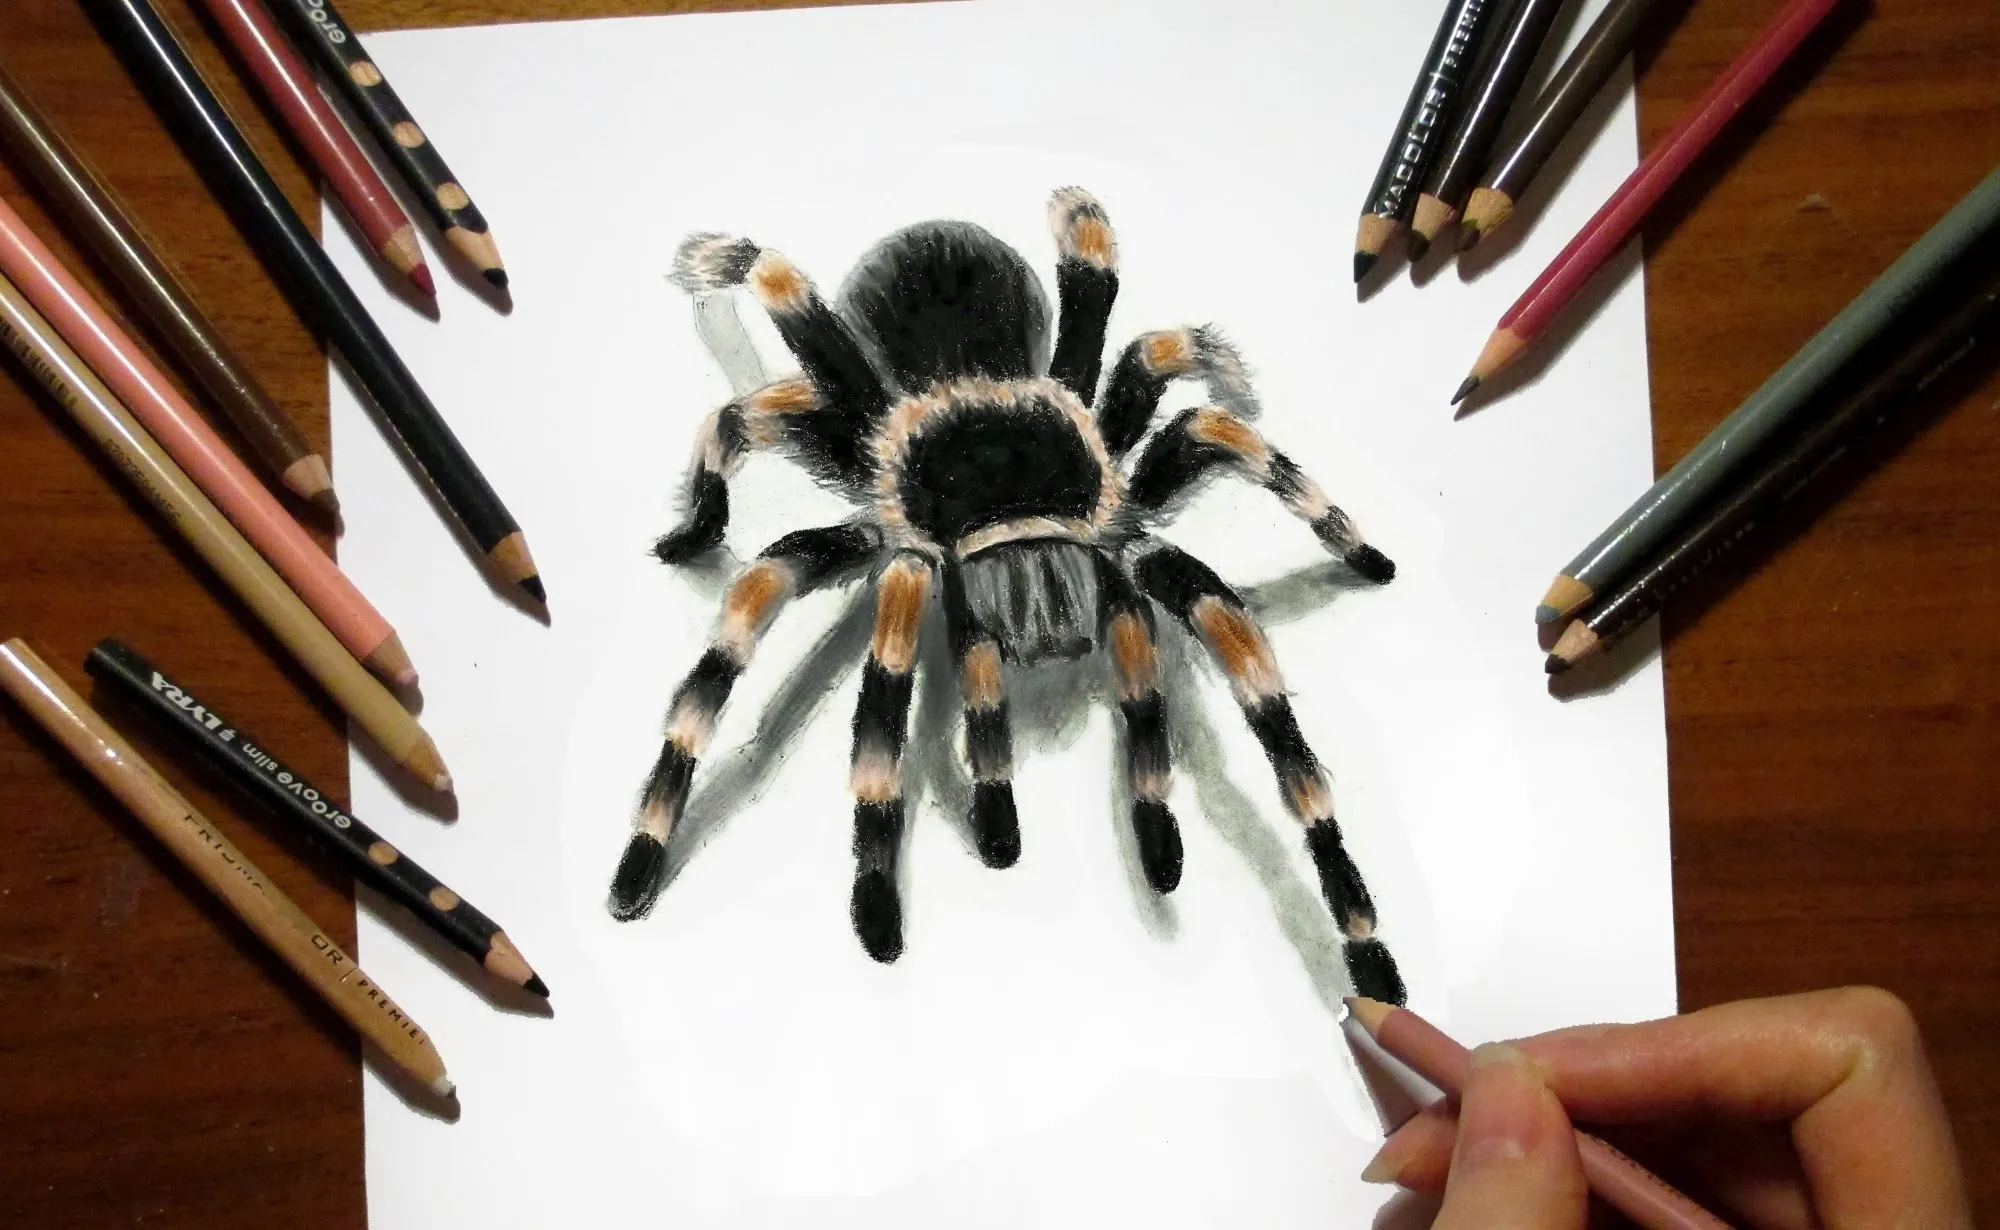
Proper application of light and shadow is key to creating a convincing 3D effect. Determine where the light is coming from and apply shadows accordingly. Shadows should be darkest where the light is blocked and gradually get lighter. Highlights should be placed where the light directly hits the surface. Consider the shape of the tarantula’s body and how the light would interact with it. Use a blending stump to create a smooth transition between the light and shadows. This creates the illusion of depth and dimension, making your drawing appear more realistic. Pay attention to how different textures react to light, and adapt your shading techniques to match.
Blending and Smoothing Techniques
Blending and smoothing techniques are essential for creating a seamless 3D effect. Use a blending stump or tortillon to soften the edges of your shading and create smooth transitions between light and dark areas. For the hairy texture, you can use a combination of blending and individual strokes to achieve a realistic look. Be careful not to over-blend, as it can make the drawing appear muddy. Experiment with different blending techniques to find the ones that work best for you. This adds to the overall professionalism of the artwork. Practice makes perfect, and the results will be stunning.
Advanced 3D Tarantula Drawing Techniques
Once you have mastered the basic techniques, you can explore more advanced methods to take your 3D tarantula drawings to the next level. Experiment with layering techniques, where you build up shading and details in multiple layers to add depth and complexity. Another effective technique is using hatching and cross-hatching to create shadows and textures. These methods will allow you to add more detail and improve the overall quality of your artwork. These methods are useful for achieving a high degree of realism in your drawings, offering an opportunity for artistic expression and improvement.
Capturing Realistic Fur and Texture
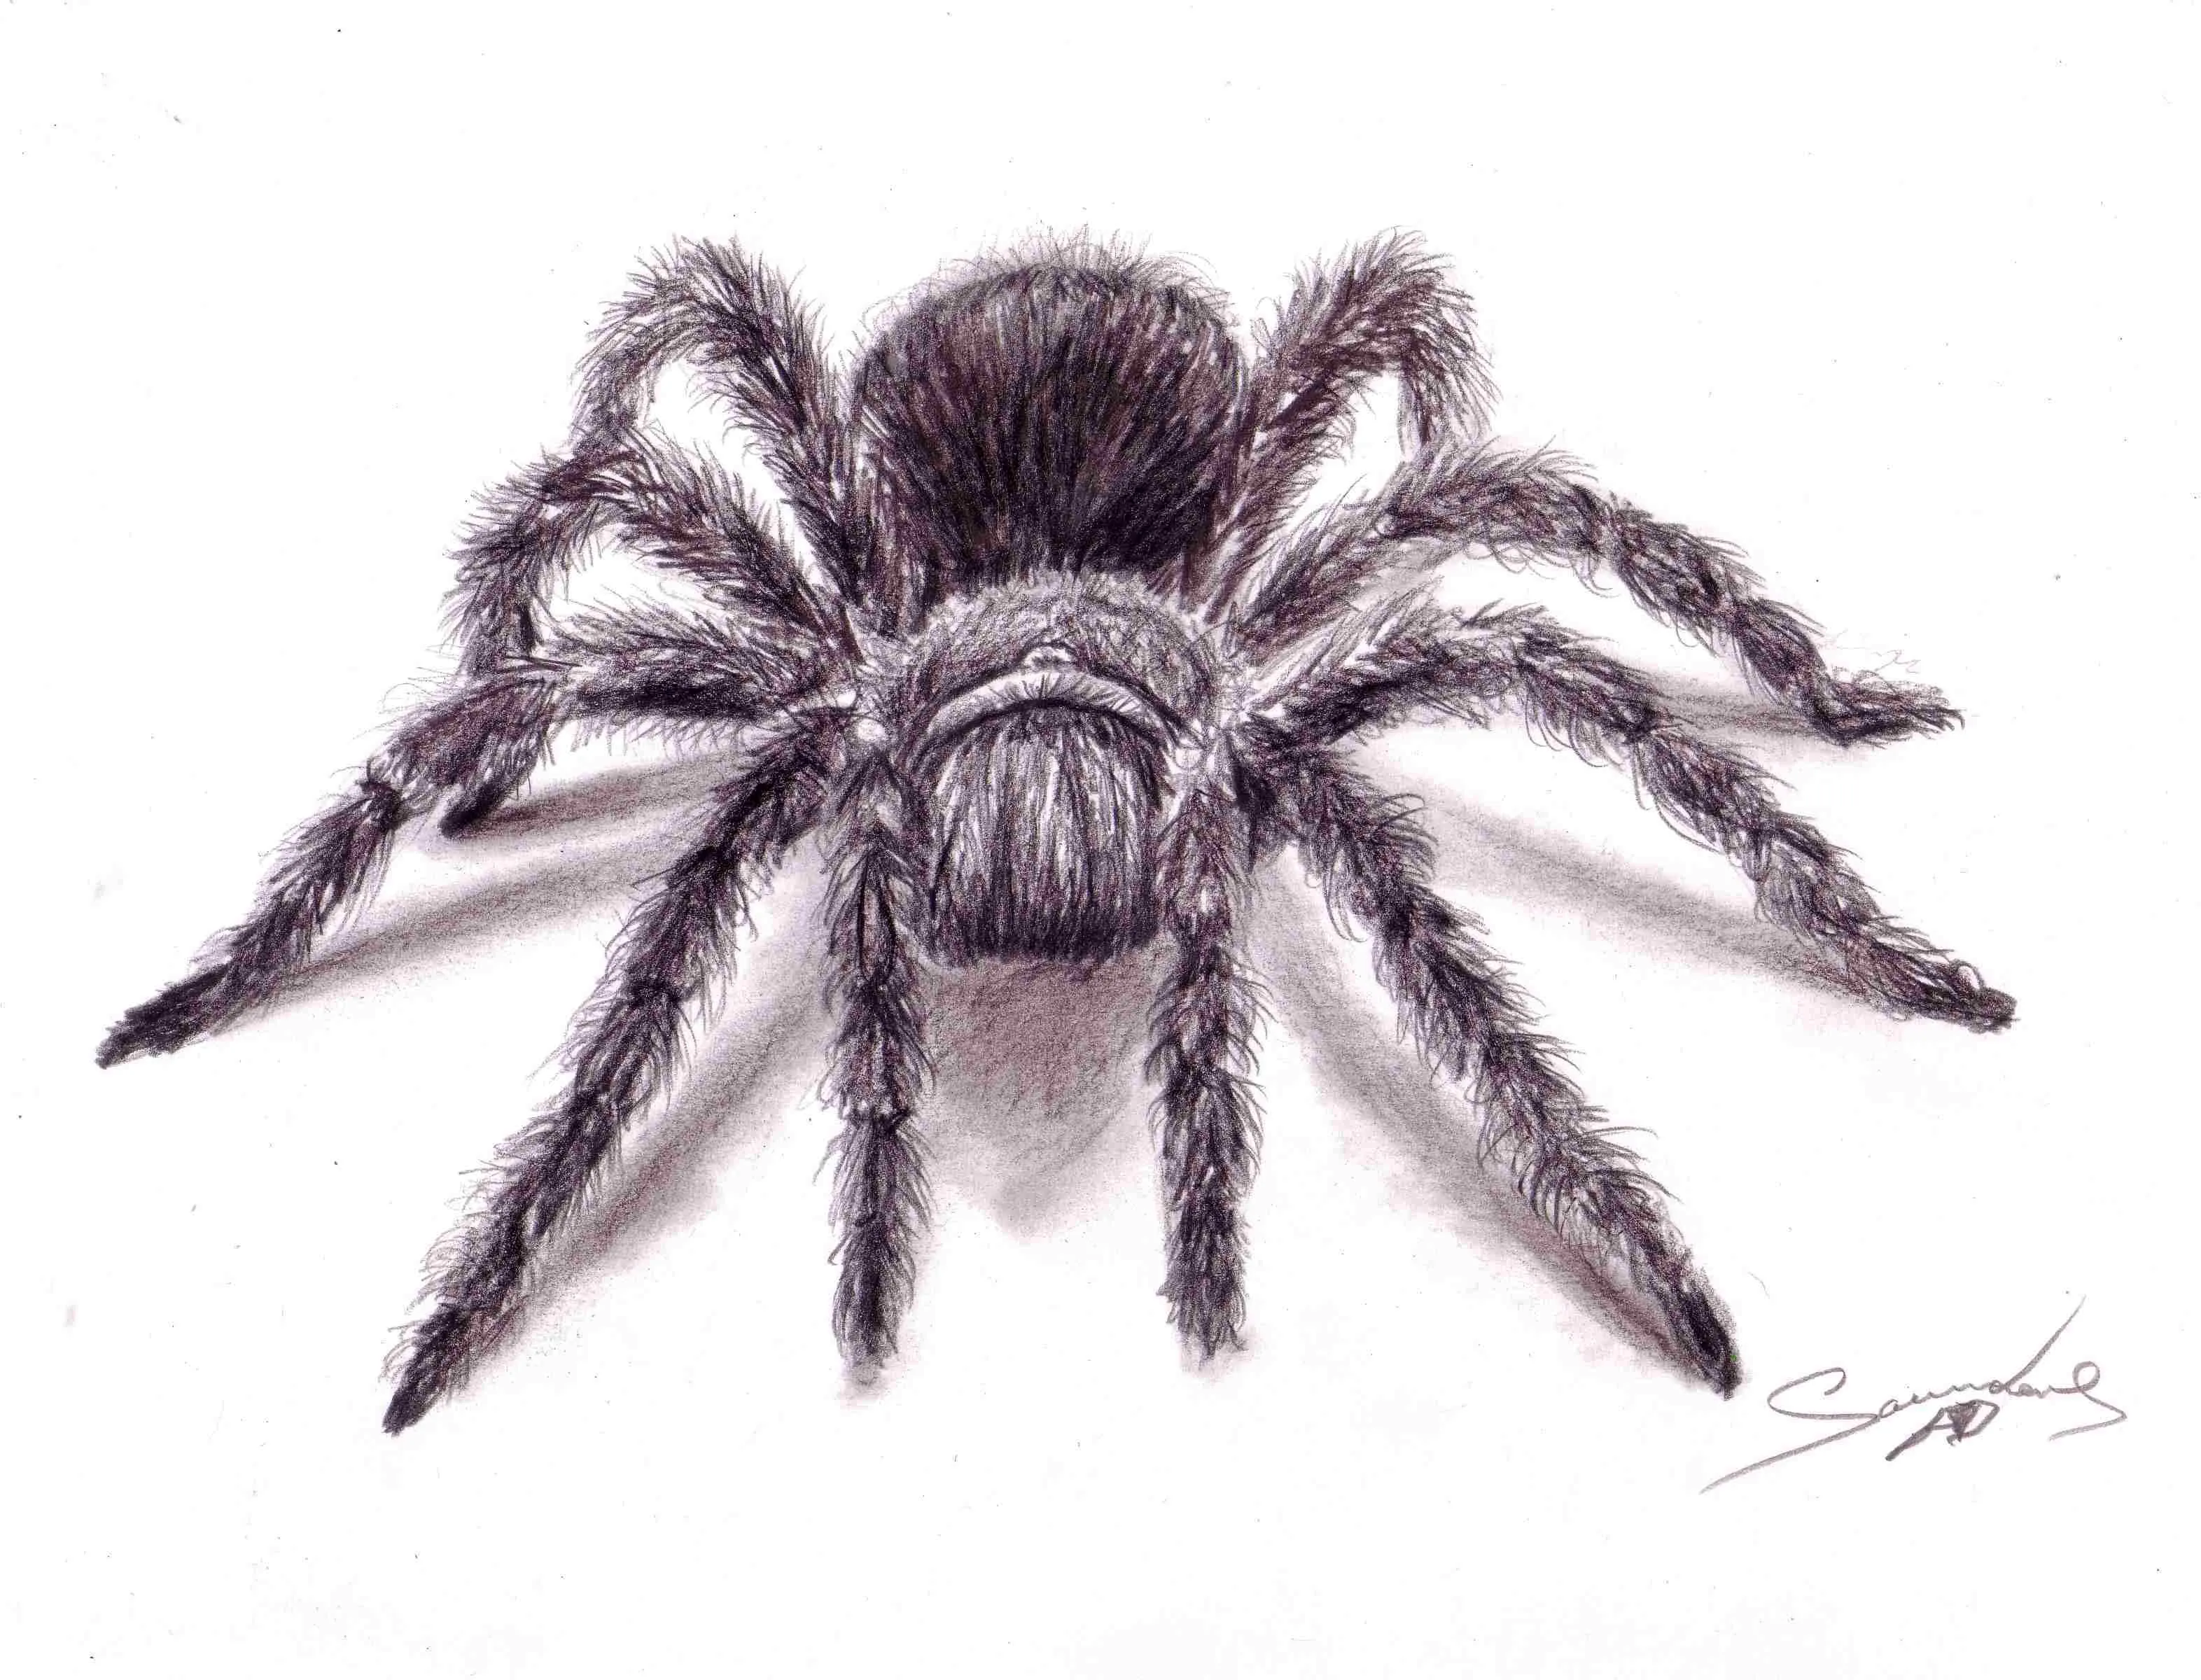
Capturing realistic fur and texture is critical for making your tarantula drawing lifelike. To achieve this, use small, fine strokes of varying lengths and directions to mimic the appearance of fur. Pay close attention to the direction in which the fur grows on different parts of the tarantula’s body. Use a light touch and build up the texture gradually, layering strokes to create depth. Use a slightly lighter pencil for highlights to suggest the way light reflects off the fur. This attention to detail will make your tarantula drawing truly remarkable. Study reference photos of tarantulas to understand the nuances of their texture.
Adding Environment and Background
Adding an environment or background can further enhance the 3D effect. Consider drawing the tarantula on a surface and adding shadows underneath to ground the figure. You can include elements like leaves, rocks, or soil to give the tarantula context within its habitat. Remember to apply the same principles of light and shadow to the background elements to maintain a consistent 3D effect. The background adds depth and interest to your drawing. The right environment can make the subject feel more alive and natural. The background enhances the story and sets the scene for your artwork.
Tips for Improving Your Tarantula Drawings
Improving your 3D tarantula drawings takes practice and dedication. Here are a few tips to help you on your artistic journey. Consistency is key. The more you draw, the more comfortable you’ll become with the techniques. Don’t be afraid to experiment. Try different methods, materials, and styles to find what works best for you. Analyze the work of other artists. Studying other artists’ work can offer inspiration and insights into different techniques. Seek feedback from others. Ask for constructive criticism on your drawings to identify areas for improvement. Have fun and enjoy the creative process.
Practice Regularly
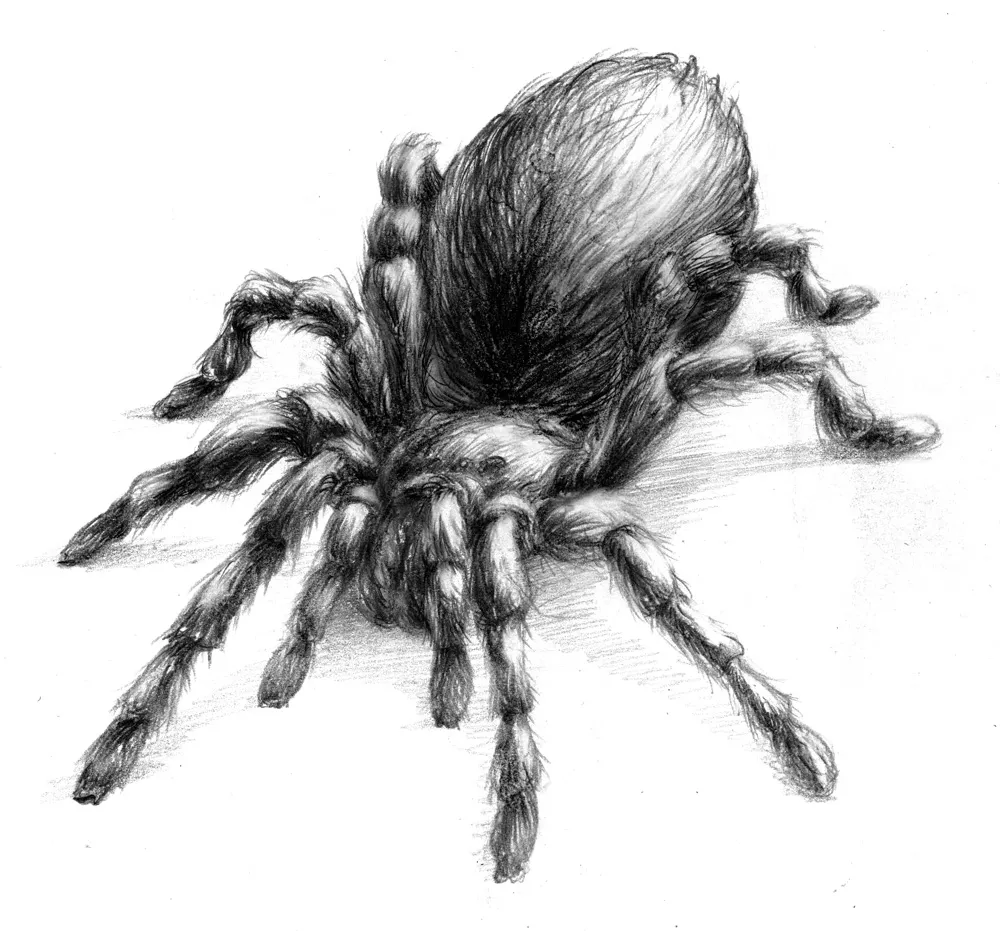
Regular practice is essential to hone your drawing skills. Set aside time each day or week to draw, even if it’s just for a short period. Regular practice allows you to build muscle memory and improve your understanding of drawing techniques. Start with simple exercises and gradually work your way up to more complex drawings. The more you draw, the more familiar you will become with the tools and techniques. Do not get discouraged; everyone makes mistakes, so keep practicing. This will lead to improvement and greater confidence in your artwork.
Study References
Studying references is crucial for achieving accuracy and realism in your tarantula drawings. Use high-quality photographs of tarantulas to observe their anatomy, texture, and details. Analyze how light and shadow affect the tarantula’s appearance. Use the references as a guide to accurately depict the proportions, features, and textures. Don’t just copy the reference; use it as a starting point for your own creative interpretation. Study the references to understand the subject, and then practice applying your knowledge to produce stunning artwork. Proper use of reference images leads to better results.
Final Touches and Finishing Your Drawing
Once you are satisfied with your 3D tarantula drawing, there are a few final touches that can enhance the result. Check your drawing for any areas that need improvement or refinement. Add any final details, such as highlights or additional shading. If desired, you can lightly spray the drawing with a fixative to protect it from smudging. Sign and date your artwork to give it a personal touch. The completion of your artwork is not just the end of a project, but also a moment of pride and accomplishment. Celebrate your achievement and remember to always strive to improve.
