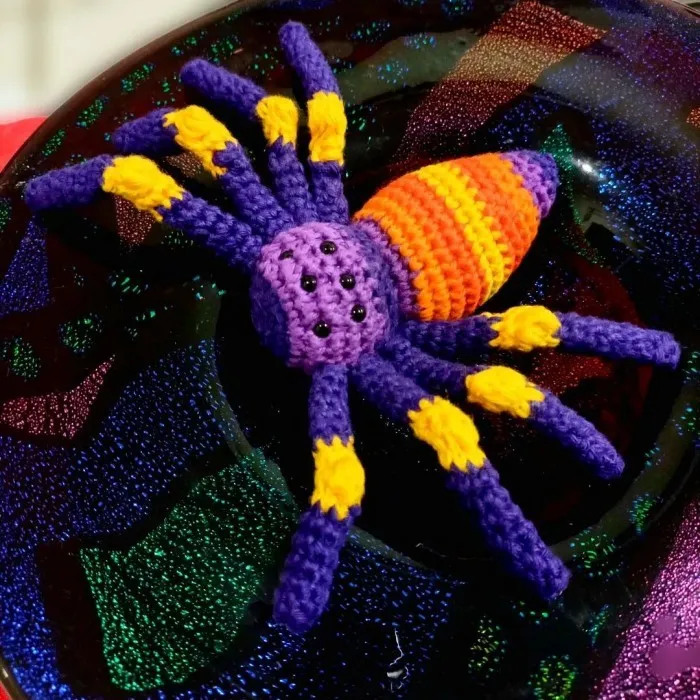
What You’ll Need Make a Tarantula Model
Creating a tarantula model is a fun and engaging craft project for all ages. It allows you to explore your creativity while learning about these fascinating creatures. This guide provides a step-by-step approach to building your own tarantula model, from gathering the necessary materials and tools to adding the finishing touches. With patience and attention to detail, you’ll have a realistic-looking model that you can be proud of. The process involves various stages, from designing the model and creating the body to building the legs and adding the intricate details that bring your tarantula to life. Remember to have fun and embrace the creative process. This guide will walk you through each stage, ensuring a rewarding and enjoyable crafting experience. Get ready to bring your own eight-legged friend to life!
Materials List
Before you begin, gather all the necessary materials. This will ensure that your crafting process runs smoothly, and you won’t have to stop midway to search for supplies. The materials you’ll need include items for the body, legs, and details. Consider the size and the desired look of your tarantula when selecting your materials. Think about what will give you the best texture. For the body, you could use materials like modeling clay, polymer clay, or even cardboard. For the legs, consider using pipe cleaners, wire, or craft sticks. For details, you’ll need paint, googly eyes, or small beads for the eyes, and possibly faux fur or yarn for the hair. Don’t forget to have glue ready for securing the parts. Having a well-stocked set of supplies is key to a successful model-making project, as shown in the image below.
Here is a detailed list of materials
- Modeling clay or polymer clay for the body
- Pipe cleaners, wire, or craft sticks for the legs
- Googly eyes or small beads for the eyes
- Acrylic paints or markers for coloring
- Glue (e.g., craft glue, hot glue)
- Faux fur or yarn for the hair
- Cardboard or other sturdy material for support (optional)
Tools Needed
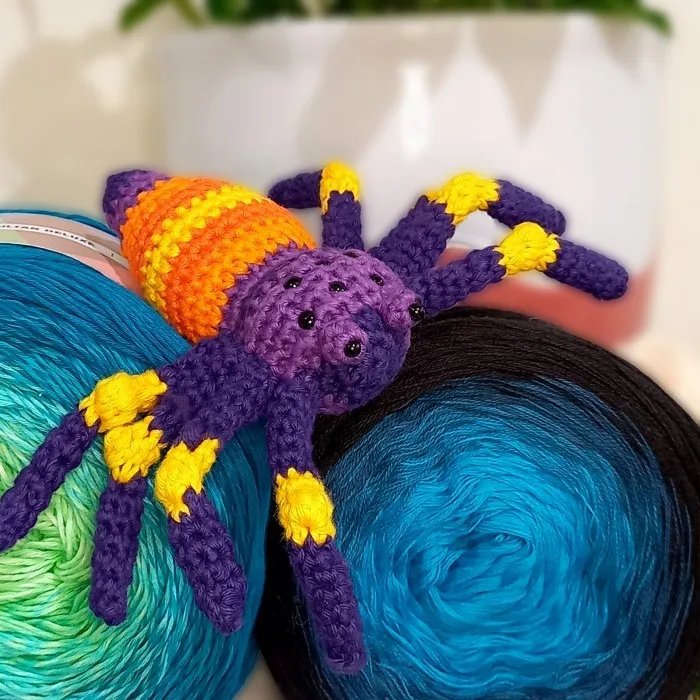
Having the right tools is just as important as having the right materials. The tools will help you shape, assemble, and detail your tarantula model efficiently and accurately. A few basic tools, like scissors, a craft knife, and a ruler, are indispensable. You’ll also need tools for shaping the body and legs, such as sculpting tools if using clay or wire cutters if using wire. Paintbrushes are necessary for adding color and detail. Additionally, you might want to have a small bowl of water and a paper towel for cleaning up and smoothing clay. Proper tools make the crafting experience more enjoyable and help you achieve the desired results. Ensure that you have these tools readily available before you begin your project to enhance your crafting efficiency. Proper tools will ensure your model looks as realistic as possible.
- Scissors
- Craft knife
- Ruler
- Sculpting tools (if using clay)
- Wire cutters (if using wire)
- Paintbrushes
- Small bowl of water and paper towel
- Glue gun (optional)
Step 1 Designing the Tarantula
Before you start building, take time to design your tarantula model. This initial phase will help you envision the final product and guide your crafting process. Consider the size, shape, and overall appearance of the tarantula you want to create. Research tarantulas for inspiration – their body shapes, leg positions, and the details that make them unique. Sketch out a simple design on paper to visualize the model. This design should include the body (cephalothorax and abdomen), the legs, and any additional features like eyes and fangs. The design phase allows you to experiment with different ideas and refine your concept before you begin working with the physical materials. Detailed design also helps you plan out your materials and tools. If you’re going for a realistic look, observe the anatomy and features of real tarantulas, as shown in the image.
Body Design
The body of a tarantula consists of two main parts: the cephalothorax (the head and chest combined) and the abdomen. In your design, consider the shape and proportion of each part. The cephalothorax is usually round or oval and slightly larger than the abdomen. The abdomen is typically more rounded and can vary in size depending on the species. Think about how you can form these shapes using your chosen material. Will you use clay to sculpt the body, or will you create a framework using cardboard or wire? Plan how you’ll connect the two parts of the body. The design should also include details such as the shape of the carapace (the top part of the cephalothorax) and any markings or patterns on the abdomen. Reference images of real tarantulas to ensure accuracy and realism. The body design is crucial, as it sets the foundation for the rest of the model, shaping how it appears.
Legs Design
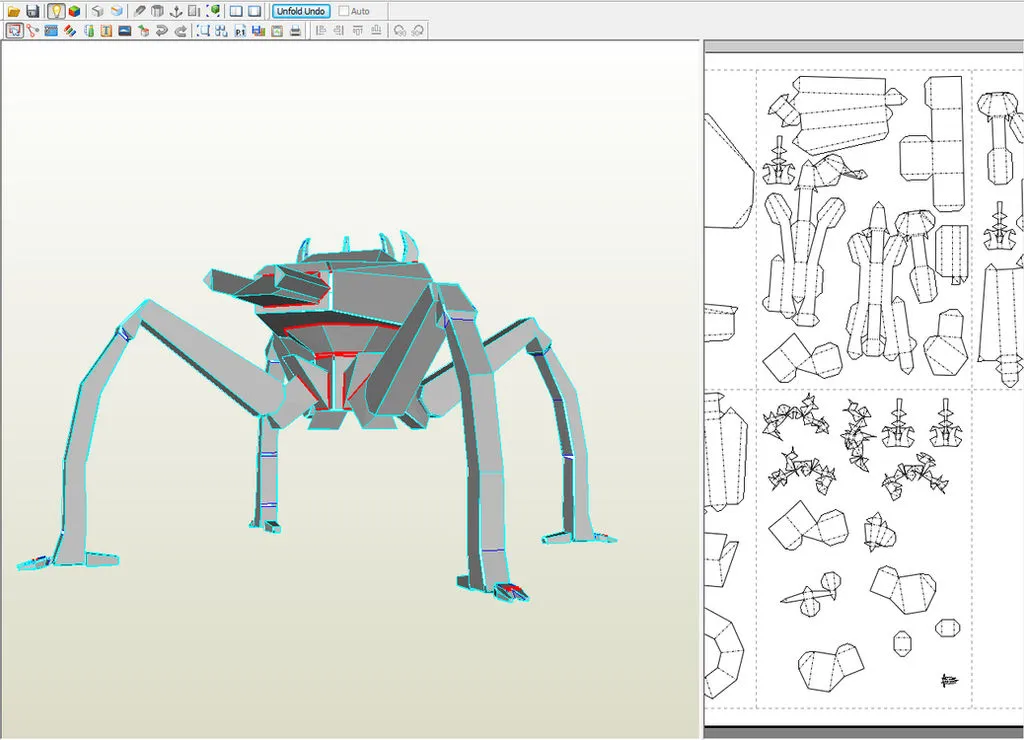
Tarantulas have eight legs, and in your design, you’ll need to consider their shape, position, and how they attach to the body. Tarantula legs are segmented, with the segments varying in length and thickness. You’ll need to decide how to replicate these segments using your chosen material (pipe cleaners, wire, etc.). The position of the legs is also essential for the tarantula’s appearance. They typically extend outwards and slightly downwards from the cephalothorax. In your design, think about the angle at which the legs will be positioned and how you’ll attach them to the body. Will you insert them directly into the clay or glue them onto the body? Consider the overall posture of the tarantula. Do you want it to look like it’s standing, walking, or in a defensive position? The leg design will significantly impact the final look of your model, making it more or less realistic.
Step 2 Creating the Tarantula Body
Once you have a design, the next step is to create the tarantula’s body. Depending on the material you’ve chosen, the process may vary. For clay or polymer clay, start by shaping the cephalothorax and abdomen separately. Use your hands or sculpting tools to mold them into the correct shapes, as outlined in your design. If using cardboard or another material, cut out the shapes according to your design and assemble them, ensuring the structure is sturdy. Make sure the body parts have the correct proportions, matching the design you created earlier. After assembling the body, smooth out any rough edges. If using clay, you can use a wet finger or tool to smooth out the surface. Take your time to shape the body accurately to resemble a tarantula’s body. The shape of the body is the foundation for the rest of your model.
Assembling the Body
Assembling the body involves joining the cephalothorax and the abdomen. If you are using clay, gently press the two parts together, blending them at the point of contact to create a seamless connection. You may need to use a tool to smooth out the joint. Ensure that the body is stable and that the two parts are securely attached. For materials like cardboard or other support structures, you will need to use glue or tape to assemble the body. Apply the adhesive carefully and hold the parts together until the glue sets, ensuring that they are aligned correctly. Once the body is assembled, inspect it from all angles to ensure that it has the correct proportions and that there are no gaps or weak points. Make sure that the assembly process is done correctly, as it is essential for the overall appearance and durability of your model, as seen in the image.
Shaping the Body
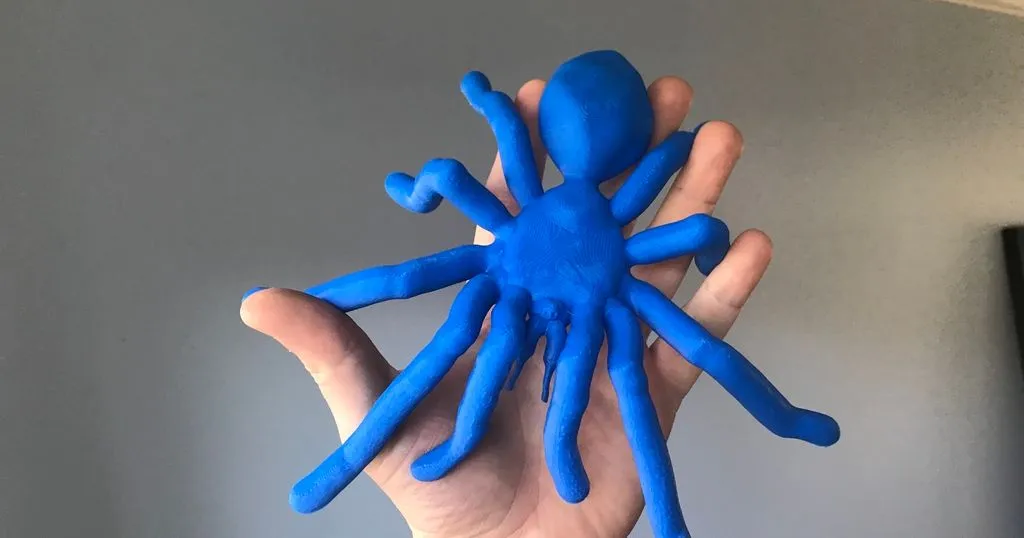
Once the body is assembled, it’s time to refine its shape. Use your sculpting tools or hands to smooth out the surfaces and create a realistic look. If you are using clay, this is the time to add details such as grooves, textures, and any other characteristics that will make your model resemble a real tarantula. Use tools to add subtle ridges or depressions to the body to give it a more natural appearance. If you are using cardboard or other material, you may need to add some additional clay or glue to enhance the shape and add texture. Be meticulous in shaping the body, as this significantly impacts the realism of your model. The final shape of the body should be accurate and detailed, reflecting the features of a tarantula. Take your time, and work carefully to achieve a professional finish, as is shown below.
Step 3 Building the Legs
Building the legs is a crucial part of bringing your tarantula model to life. The legs should be proportionate to the body and positioned in a way that reflects the natural posture of a tarantula. If you use wire or pipe cleaners, cut the segments to the appropriate lengths. Bend and shape the segments to resemble the structure of a tarantula leg. For each leg, you will need to create multiple segments and attach them to each other. If you are using craft sticks, you can cut them into segments and glue them together in the right shape. Take care to make the legs strong and stable, as they will support the model. Pay attention to the angles and curves of the legs to mimic the natural shape of a tarantula’s legs. Accuracy is essential to create a convincing and realistic model.
Attaching the Legs
Attaching the legs to the body requires careful planning and precision. The method you choose will depend on the materials you are using. If using clay, you can insert the legs directly into the body while the clay is still soft. Ensure that the legs are firmly secured. If using wire or pipe cleaners, you may need to create small holes in the body and insert the legs, or use glue to attach them. When attaching the legs, position them correctly to support the model and to match the stance you have chosen. Consider the angle at which the legs will extend from the body, and make sure that they are aligned correctly. Secure the legs firmly to prevent them from falling off. Check that the legs provide stability to your model. Remember that correct leg attachment is vital to maintain the integrity of the model.
Positioning the Legs
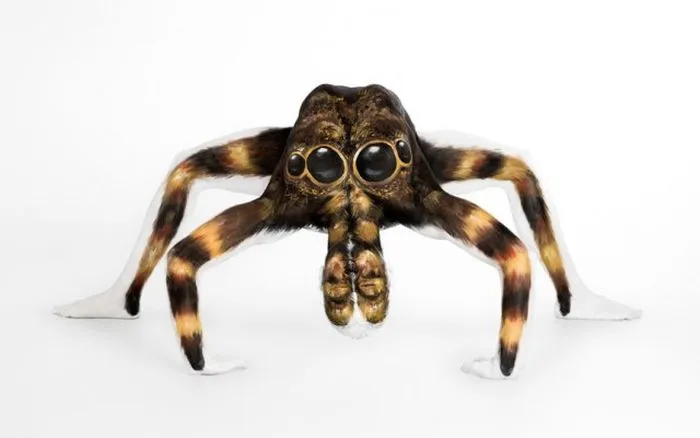
The position of the legs will significantly affect the overall appearance of your tarantula model. Take time to observe the leg positions of real tarantulas. Do you want your model to appear static, or do you want it to look like it’s moving? The legs can be positioned in various ways, depending on your desired look. Consider the posture you want to achieve – standing, walking, or in a defensive position. You can slightly bend the legs to give a more dynamic appearance. Make sure the legs are evenly spaced and provide stability. Regularly check the leg positions as you work on the model. Adjust the positions as needed to improve balance and visual appeal. The correct positioning makes the model more realistic. Once you are satisfied with the placement, secure the legs firmly in place to complete the structure. Ensure your model stands firmly on its legs, as illustrated in the image below.
Step 4 Adding Details
Adding details is where you bring your tarantula model to life. This stage includes adding the eyes, fangs, and any hair or other textures that give your model a realistic appearance. These details can be made from various materials, depending on the look you are trying to achieve. If you are using modeling clay, you can sculpt details like eyes and fangs directly onto the body. If you are using other materials, you can use googly eyes, small beads, or paint for the eyes and small pieces of clay or other material for the fangs. Take your time and pay attention to the details to create a realistic model, which requires precision and patience. Details will enhance the overall appearance of your model.
Eyes and Fangs
The eyes and fangs are essential features of the tarantula model, and adding them correctly can dramatically improve its realism. For the eyes, you can use googly eyes, small beads, or paint. If using paint, carefully paint the eyes on using a fine brush to create the desired look. You can add multiple layers of paint to achieve a more realistic appearance. For the fangs, you can sculpt them from clay or other material and attach them to the head. Consider the shape and size of the fangs, and ensure that they are proportionate to the rest of the model. When attaching the eyes and fangs, ensure that they are securely in place. The eyes and fangs contribute to the overall look of your model. Focus on precision when creating these details to produce a realistic and engaging model, as shown below.
Adding Hair
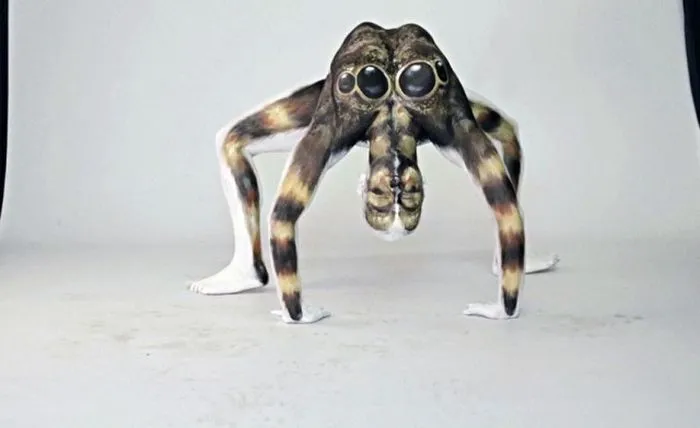
Adding hair to your tarantula model is a great way to add texture and realism. You can use materials such as faux fur, yarn, or even fine strands of string to replicate the hair on a tarantula’s body and legs. Cut the faux fur or yarn into small pieces and attach them to the model using glue. Consider the pattern and density of the hair on a real tarantula. Aim for a distribution that is realistic. If you use yarn, you can carefully glue or weave it onto the body. You can use different shades of the same color or use a mix of colors to enhance the texture and appearance of the hair. Adding hair requires patience and attention to detail, but the end result will significantly enhance the model’s realism, making it more lifelike and captivating, as illustrated in the image.
Step 5 Finishing Touches
Once all the details are added, it’s time to add the finishing touches to your tarantula model. This involves making final adjustments, correcting any imperfections, and adding any extra elements to enhance its appearance. Inspect the model from all angles to ensure that all parts are securely attached, and make any necessary corrections. This stage involves carefully inspecting the model and adding the final details that will make it stand out. Review every detail and make any adjustments you feel are necessary to improve the model. These include the shape and position of the legs, the accuracy of the details, and the distribution of the hair or texture. Consider adding subtle highlights or shadows with paint to create more depth and realism. The final touches will bring your model to life.
