Understanding Tarantula Pet Photography
Tarantula pet photography is more than just taking pictures of your eight-legged friend it’s about capturing their unique beauty and showcasing the fascinating world of these arachnids. This guide provides a comprehensive overview of how to take stunning pictures of your tarantula, from the initial setup to the final edits. Whether you’re a seasoned photographer or a complete beginner, this guide will equip you with the knowledge and techniques necessary to capture exceptional tarantula pet pictures. Learning how to photograph these creatures effectively involves understanding their needs, the right equipment, and some essential techniques. The goal is to create images that are both visually appealing and informative, highlighting the intricate details and behaviors of your pet tarantula.
Why Take Tarantula Pictures
There are several compelling reasons to take pictures of your tarantula. Beyond the simple joy of capturing memories, photography can serve as a valuable tool for documenting your pet’s life, health, and behavior. Good tarantula pet pictures provide a visual record that can be used to track changes over time, identify potential health issues, and share your passion with others. High-quality photos can also be used for educational purposes, contributing to a better understanding of tarantulas and dispelling common misconceptions about these creatures. Furthermore, photography can be a rewarding hobby, offering a creative outlet and a way to connect with other tarantula enthusiasts.
Importance of Visual Documentation

Visual documentation is crucial for monitoring your tarantula’s well-being. Photos can help you track growth, detect molting patterns, and identify any potential health problems, such as injuries or parasites. By comparing pictures over time, you can notice subtle changes that might otherwise go unnoticed. This documentation can be invaluable if you need to consult with a veterinarian or share information with other tarantula keepers. The ability to visually track your tarantula’s progress is a significant advantage, contributing to their long-term health and happiness. Consistent documentation allows for informed care decisions based on visual evidence, ensuring that your tarantula thrives.
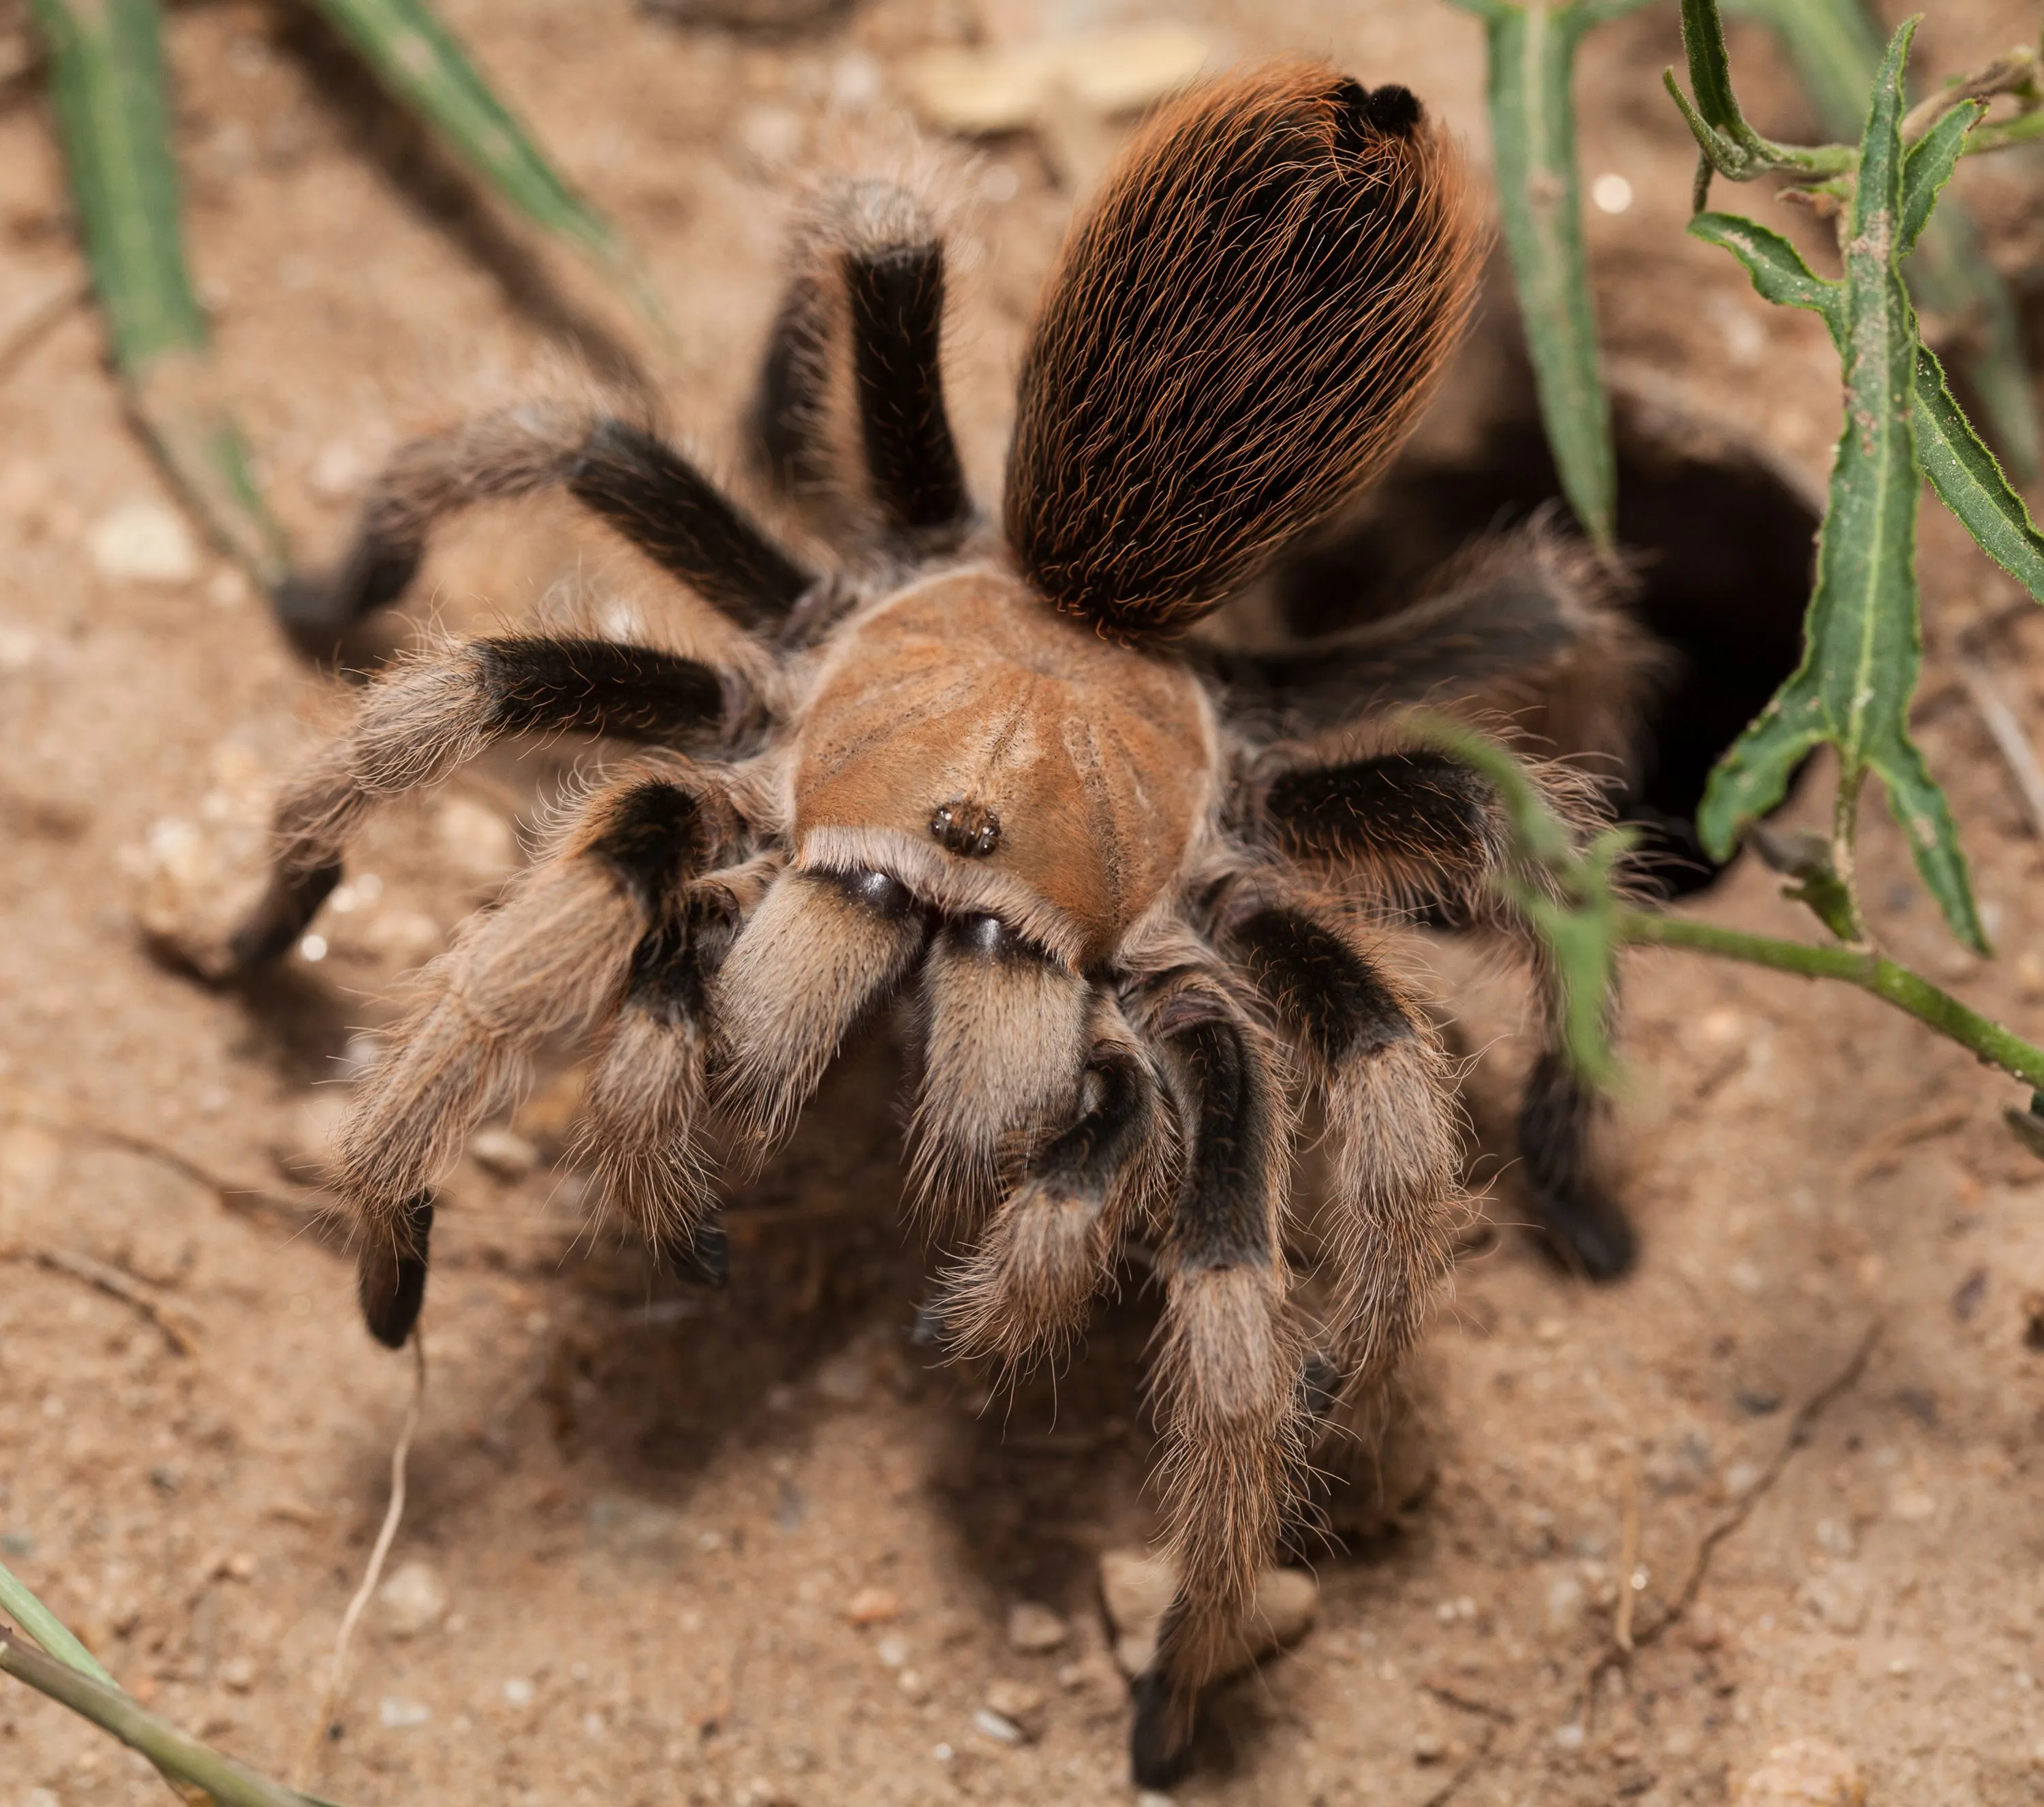
Showcasing Your Tarantula’s Beauty
Tarantulas are often misunderstood, but their beauty is undeniable. Photography is an excellent way to showcase the intricate patterns, colors, and unique characteristics of your tarantula. By capturing high-quality images, you can challenge common misconceptions and educate others about the fascinating world of tarantulas. Close-up shots can reveal the fine details of their exoskeletons, the intricate designs on their abdomens, and the delicate hairs that cover their bodies. These images can be shared on social media, in online forums, or in photography competitions, helping to raise awareness and appreciation for these amazing creatures. Sharing these tarantula pet pictures fosters a deeper understanding and appreciation for these often-misunderstood animals.
Essential Equipment for Tarantula Photography
The right equipment is crucial for capturing high-quality tarantula pet pictures. You don’t necessarily need the most expensive gear, but understanding the basics can significantly improve your results. Key pieces of equipment include a good camera, a suitable lens, proper lighting, and a stable platform for your tarantula. The choice of equipment will depend on your budget and the type of photos you want to take, but investing in quality gear will pay off in the long run. Understanding the purpose of each piece of equipment will also help you create more compelling and visually stunning images.
Camera and Lens Recommendations

When choosing a camera and lens for tarantula pet pictures, consider factors like image quality, focusing capabilities, and ease of use. A DSLR or mirrorless camera with a macro lens is ideal for capturing the intricate details of your tarantula. These cameras offer better image quality and allow for manual control, which is essential for getting the perfect shot. A macro lens allows you to focus closely on your subject, revealing details that are otherwise invisible to the naked eye. Alternatively, some smartphones have excellent cameras that can also be used with macro lenses. The most important thing is to choose a camera you are comfortable with and that allows for creative control.
Choosing the Right Camera
For tarantula pet pictures, a camera with good image quality and manual controls is essential. DSLR and mirrorless cameras offer these features, allowing you to adjust settings like aperture, ISO, and shutter speed. These adjustments allow you to control the depth of field, the amount of light entering the camera, and the clarity of your images. When choosing a camera, consider factors like sensor size, megapixel count, and the availability of interchangeable lenses. A larger sensor generally results in better image quality, especially in low-light conditions. Also, ensure the camera has a fast and accurate autofocus system to capture sharp images of your fast-moving tarantula. A camera with a good range of features will provide greater flexibility and creative control over your photography.
Optimal Lens Selection
A macro lens is crucial for taking detailed tarantula pet pictures. These lenses are specifically designed to focus closely on small subjects, revealing intricate details that would otherwise be missed. When choosing a macro lens, look for a magnification ratio of 1:1, meaning the subject is reproduced at its actual size on the camera sensor. The focal length of the lens is also important. Shorter focal lengths (e.g., 50mm) are good for general use, while longer focal lengths (e.g., 100mm or more) provide a greater working distance, allowing you to photograph your tarantula without getting too close. The best lens will depend on your budget and the type of photos you want to take, but a macro lens is essential for capturing the beauty of these creatures.
Lighting Techniques for Tarantula Pictures

Lighting is one of the most important aspects of photography, and it’s especially critical when taking tarantula pet pictures. Proper lighting can make or break a photograph, affecting the colors, contrast, and overall aesthetic. The goal is to provide enough light to illuminate your tarantula while avoiding harsh shadows or overly bright highlights. Experimenting with different lighting techniques will help you create the perfect images. Whether you use natural light, artificial light, or a combination of both, mastering lighting will significantly enhance your tarantula pet pictures.
Natural Light vs. Artificial Light
Natural light is often the easiest and most accessible source of light, but it can be unpredictable. On a cloudy day, natural light can be soft and diffused, which is ideal for tarantula pet pictures. Direct sunlight, on the other hand, can create harsh shadows and make your images look washed out. When using natural light, position your tarantula near a window, but avoid direct sunlight. Artificial light, such as softboxes or speedlights, provides more control and consistency. These tools allow you to shape and direct the light, creating the desired effect. Experimenting with both natural and artificial light can help you determine which is best for your photography.
Using Softboxes and Diffusers
Softboxes and diffusers are essential tools for softening the light and reducing harsh shadows in your tarantula pet pictures. A softbox is a light modifier that diffuses light, creating a softer and more even illumination. Diffusers can be used in conjunction with softboxes or with natural light to soften the light source. You can also use a diffuser, such as a piece of white fabric or tracing paper, between your light source and your tarantula. This helps to spread the light evenly and reduce harsh shadows. Using these tools will give your images a more professional look and make your tarantula appear more appealing. These tools are readily available and are a worthwhile investment for any photographer serious about tarantula photography.
Positioning Your Tarantula

Proper positioning is key to capturing compelling tarantula pet pictures. Creating a safe and comfortable environment for your tarantula is the first step. Then, choose a suitable background and consider how to best showcase your pet’s features. The goal is to create visually appealing images that highlight your tarantula’s unique characteristics. Be mindful of your tarantula’s safety throughout the process, and never force your pet into a pose that makes it uncomfortable. Your patience and attention to detail will pay off in the quality of your pictures. It’s essential to prioritize the well-being of your tarantula over the perfect shot.
Creating a Safe Environment
Before you start taking pictures, ensure your tarantula is in a safe and comfortable environment. Choose a container or enclosure that is appropriate for your tarantula’s size and species. Make sure the enclosure is clean and free of any objects that could harm your pet. Ensure the temperature and humidity levels are appropriate for the species. Consider the tarantula’s natural environment and replicate elements like substrate, hides, and plants in the enclosure. This will help to reduce stress and make your tarantula feel more secure. Providing a safe environment is not only essential for your tarantula’s well-being but also makes it more likely that you’ll capture natural and relaxed poses.
Choosing the Right Background
The background can significantly impact the overall look of your tarantula pet pictures. A simple and uncluttered background will help your tarantula stand out and avoid distractions. Consider using a solid-color background, such as white, black, or a neutral tone. These backgrounds can create a clean and professional look, highlighting your tarantula’s details. You can use seamless paper, fabric, or even a piece of cardboard. Ensure the background is clean and free of any wrinkles or creases. Consider the color of your tarantula when choosing a background color. For example, a dark-colored tarantula will stand out against a light background, and vice versa. A well-chosen background will greatly enhance the visual appeal of your pictures.
Focusing and Composition Techniques
Mastering focus and composition will elevate your tarantula pet pictures from snapshots to works of art. Sharp focus ensures that your tarantula’s details are crisp and clear, while composition guides the viewer’s eye and creates visual interest. Understanding and applying these techniques will improve your photos significantly. Patience, practice, and attention to detail are key to creating stunning images. Experiment with different angles and compositions to find what works best for your pet. Taking the time to learn these techniques will greatly improve your tarantula photography skills.
Achieving Sharp Focus
Achieving sharp focus is crucial for capturing detailed tarantula pet pictures. Ensure your camera’s focus is accurate, especially when using a macro lens, which has a shallow depth of field. Manual focus is often preferred, as it allows for precise control over the focus point. Use a tripod to minimize camera shake, which can blur your images. Focus on the eyes of your tarantula, as this is often the most visually appealing point. Adjust your camera settings, such as the aperture, to control the depth of field. A smaller aperture (higher f-number) will result in a greater depth of field, keeping more of the image in focus. Take multiple shots, varying the focus point slightly, to ensure you capture a sharp image. With practice, you’ll develop a knack for getting tack-sharp focus in your tarantula pictures. Consider using focus stacking techniques for greater depth of field.
Composition Rules for Better Photos
Applying composition rules will significantly improve the visual appeal of your tarantula pet pictures. The rule of thirds is a fundamental composition guideline, dividing the frame into nine equal parts using two horizontal and two vertical lines. Place your tarantula at the intersection of these lines or along the lines themselves to create a more balanced and visually interesting composition. Experiment with different angles and perspectives. Try shooting from above, below, or at eye level. Varying your viewpoint will make your pictures more dynamic and engaging. Use leading lines, such as the legs of your tarantula, to guide the viewer’s eye through the image. Consider negative space, the empty areas around your subject. Use negative space to create a sense of balance and draw attention to your tarantula. These composition techniques will help you create more engaging and aesthetically pleasing tarantula pet pictures.
Post-Processing Your Tarantula Pictures
Post-processing is the art of enhancing your tarantula pet pictures after you’ve taken them. It’s an essential step in the photography workflow, allowing you to correct imperfections, adjust colors, and fine-tune the overall look of your images. With the right tools and techniques, you can transform good photos into great ones. Post-processing can be as simple or as complex as you want, depending on your goals and your level of experience. Learning basic editing skills will help you make the most of your tarantula pet pictures.
Basic Editing Tips
Basic editing involves making adjustments to exposure, contrast, colors, and sharpness. Start by correcting any exposure issues, such as underexposed or overexposed areas. Adjust the contrast to enhance the details in your images. Correct the white balance to ensure accurate colors. Adjust the saturation and vibrance to make the colors pop, but be careful not to overdo it. Sharpen your images to make them appear crisper, but avoid excessive sharpening, which can create unwanted artifacts. Cropping your images can also improve the composition, by removing distractions or emphasizing your subject. Experiment with different adjustments and find what works best for your tarantula pet pictures.
Software Recommendations
Several software options are available for post-processing your tarantula pet pictures. Adobe Lightroom and Photoshop are industry standards, offering powerful editing tools and a wide range of features. These programs provide everything you need to edit and organize your photos, from basic adjustments to advanced techniques. If you’re looking for free or more affordable alternatives, consider options like GIMP or Darktable. These open-source programs offer many of the same features as their paid counterparts. For mobile editing, apps like Snapseed and VSCO are great options. Ultimately, the best software is the one you are most comfortable with and that meets your needs. Explore different options and choose the one that best suits your workflow and budget.
Common Mistakes to Avoid
Avoiding common mistakes can significantly improve the quality of your tarantula pet pictures. Paying attention to detail and learning from your mistakes is part of the learning process. By being aware of these pitfalls, you can ensure your tarantula pet pictures are as good as they can be. This also includes respecting the well-being of your pet and prioritizing their safety throughout the process.
Poor Lighting and Harsh Shadows
Poor lighting and harsh shadows can ruin an otherwise good photograph. Harsh shadows can obscure details and make your tarantula pet pictures look unappealing. Overly bright highlights can wash out your subject and cause a loss of detail. Correcting lighting problems is critical. Use softboxes, diffusers, or natural light on cloudy days to soften the light. Ensure your lighting is even and well-distributed. When using artificial light, experiment with different angles and positions to avoid harsh shadows. Remember that the goal is to illuminate your tarantula’s details without creating distracting shadows or overly bright highlights. Proper lighting is one of the most important factors in achieving high-quality photos.
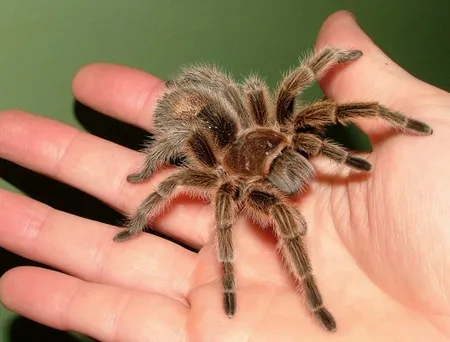
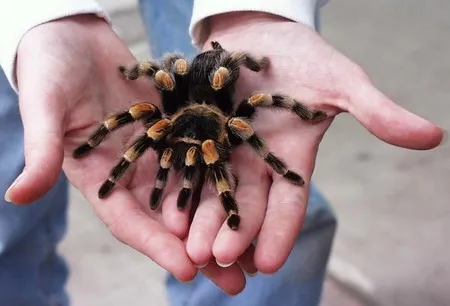
Ignoring the Tarantula’s Safety
The well-being of your tarantula should always be your top priority. Never put your desire for a perfect shot above your pet’s safety. Avoid handling your tarantula unnecessarily, as this can stress them out and potentially lead to injury. Make sure the environment is safe and secure and that your tarantula is comfortable during the photoshoot. Be patient and respectful of your tarantula’s needs. If your tarantula seems stressed or uncomfortable, stop the photoshoot immediately. Remember, a good picture is not worth risking your tarantula’s health or happiness. Ensuring your tarantula’s safety and comfort will not only produce better pictures but also make your tarantula photography experience more enjoyable.
Sharing and Showcasing Your Pictures
Sharing your tarantula pet pictures with others is a great way to connect with the tarantula community and showcase your photography skills. There are many online platforms where you can share your photos and gain inspiration from other photographers. Consider these platforms and how you can use them to connect with others and share your beautiful pictures.
Online Platforms for Tarantula Photos
There are several online platforms where you can share your tarantula pet pictures. Social media platforms, such as Instagram and Facebook, are popular choices for sharing your photos and connecting with other enthusiasts. Use relevant hashtags to increase the visibility of your posts and reach a wider audience. Online forums and communities dedicated to tarantulas are also excellent places to share your photos, ask questions, and learn from others. Websites such as Flickr and 500px are great options for displaying your photos. Remember to credit the photographer, if you share someone else’s picture. Showcasing your tarantula pictures helps to promote these fascinating creatures and can inspire other people to become involved. Consider entering photography contests and sharing your work with friends, family, and other tarantula keepers. Sharing your pictures provides the opportunity to connect with others, learn new skills, and help educate the public about tarantulas.