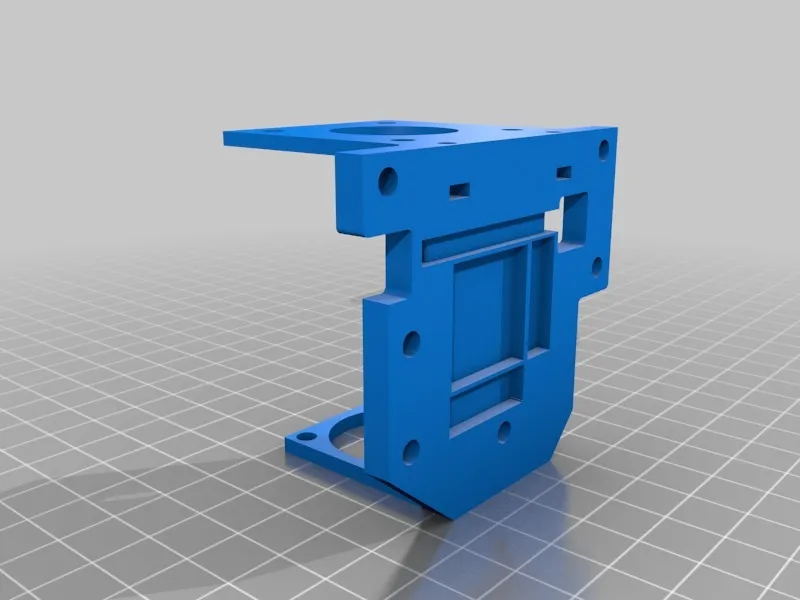
What is the Tevo Tarantula Metal Flex Extruder?
The Tevo Tarantula, a popular and affordable 3D printer, is often a starting point for many hobbyists. One of the most impactful upgrades you can perform on this printer is replacing the stock extruder with a metal flex extruder. But what is a metal flex extruder, and why is it beneficial? In essence, it’s a component responsible for pushing the filament into the hot end of your 3D printer. The stock extruder on the Tevo Tarantula is typically made from plastic. This metal flex extruder, on the other hand, is constructed from more durable materials, such as aluminum or stainless steel. This upgrade offers several advantages, significantly improving the printer’s performance and reliability. It is designed to handle a wider range of filaments and provide more consistent and precise filament feeding, leading to higher-quality prints. This guide will walk you through everything you need to know to upgrade your Tevo Tarantula with a metal flex extruder.
Benefits of Upgrading to a Metal Flex Extruder
Upgrading to a metal flex extruder offers several advantages that can dramatically improve your 3D printing experience. The benefits extend beyond just convenience; they contribute to better print quality, increased material compatibility, and enhanced overall printer reliability. Investing in this upgrade can significantly enhance the capabilities of your Tevo Tarantula, making it a more versatile and user-friendly machine. Let’s delve into the specific improvements you can expect when switching to a metal flex extruder.
Improved Filament Feeding
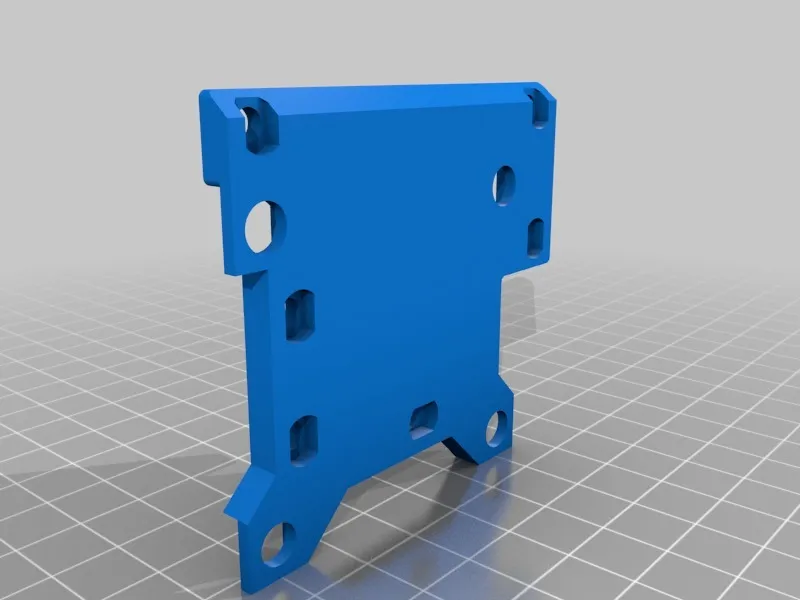
Metal flex extruders often feature a more robust design that leads to more consistent and reliable filament feeding. This is crucial for preventing jams and ensuring a smooth and uninterrupted printing process. The improved grip on the filament reduces the chances of under-extrusion, which can cause weak layers and failed prints. The more precise control over the filament flow results in more dimensionally accurate and visually appealing prints. The metal construction also allows for better heat dissipation, reducing the likelihood of filament softening and deforming prematurely within the extruder itself. All of these factors contribute to a more dependable and efficient 3D printing experience.
Increased Durability
The stock plastic extruders are prone to wear and tear, especially when printing with abrasive filaments such as carbon fiber-filled or wood-filled materials. Metal flex extruders, made from materials like aluminum or stainless steel, are significantly more durable. They can withstand the constant pressure and friction of filament feeding without degrading or breaking down. This durability extends the lifespan of the extruder and reduces the need for frequent replacements. This is particularly important for those who print frequently or use a wide variety of filaments. This ensures a long-lasting and reliable performance, saving you both time and money in the long run. This will lead to reduced maintenance costs and improved printer uptime, making your 3D printing endeavors more productive.
Better Temperature Resistance
Metal extruders can handle higher temperatures compared to their plastic counterparts. This is particularly important when printing with high-temperature filaments such as ABS, nylon, or polycarbonate. Plastic extruders may soften or deform under high heat, leading to inconsistent filament feeding and print failures. The metal construction of a flex extruder ensures that it remains stable even at elevated temperatures, allowing you to explore a broader range of materials. This increased temperature resistance also helps to maintain print quality and dimensional accuracy, especially when working with materials that require precise temperature control. The ability to print with a wider array of filaments expands the creative possibilities and the functionality of your 3D printer.
Enhanced Print Quality
The combined benefits of improved filament feeding, increased durability, and better temperature resistance ultimately lead to enhanced print quality. With a metal flex extruder, you’ll experience more consistent layer adhesion, reduced warping, and fewer print defects. The precise control over filament flow ensures that details are captured accurately and that the finished prints have a smoother surface finish. This also results in stronger and more reliable prints, as each layer bonds securely to the next. Ultimately, upgrading to a metal flex extruder translates to higher-quality prints with improved dimensional accuracy and a professional appearance, which are ideal for both hobbyists and professionals alike.
Preparing Your Tevo Tarantula for the Upgrade
Before you begin the upgrade, it’s important to prepare your Tevo Tarantula and gather the necessary tools and parts. This will ensure that the installation process goes smoothly and that you have everything you need to succeed. Taking the time to prepare your workspace, gather essential items, and follow safety precautions will minimize any potential issues. Proper preparation can save you both time and frustration and will help you get your printer up and running with the new metal flex extruder quickly and efficiently. Let’s go through the steps necessary to ready your printer for the upgrade.
Gathering the Necessary Tools and Parts
Before you begin, ensure you have all the necessary tools and parts. You will need a metal flex extruder kit specifically designed for the Tevo Tarantula, a set of Allen wrenches (typically included in the kit), a small Phillips head screwdriver, and possibly a pair of pliers or wire cutters for removing and adjusting any existing wiring. Having a well-lit workspace and a clean area to work will also be helpful. It’s also useful to have some filament on hand for testing and calibration after the installation is complete. A checklist ensures you have everything required before you start the upgrade, preventing any interruptions during the process.
Safety Precautions Before You Begin
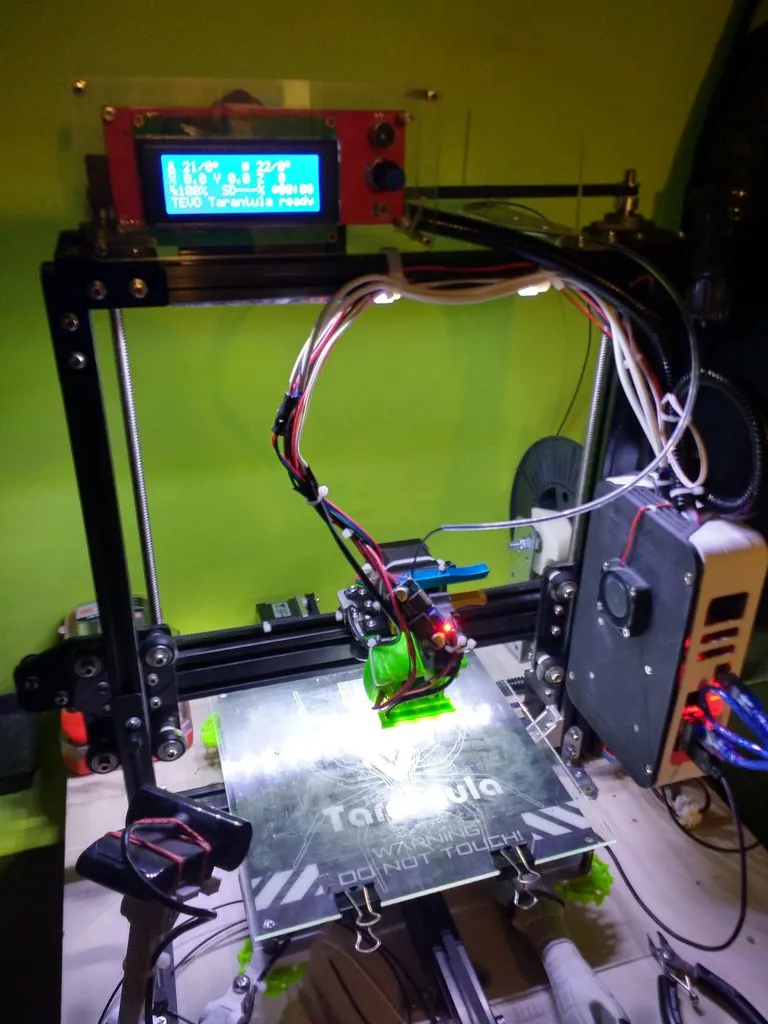
Safety should always be a priority when working with 3D printers. Before starting the upgrade, ensure that your Tevo Tarantula is turned off and unplugged from the power source. Allow the hot end to cool down completely to avoid burns. If you are unfamiliar with the printer’s electrical components, it’s recommended to consult the printer’s manual or seek assistance from someone with experience. Take care when handling small parts and tools, and keep them out of reach of children. Always work in a well-ventilated area to avoid inhaling fumes from heated plastic. By taking these safety precautions, you will minimize the risk of accidents and ensure a safe and successful upgrade process.
Step-by-Step Metal Flex Extruder Installation
The installation process may vary slightly depending on the specific metal flex extruder kit you purchase. Always refer to the manufacturer’s instructions for the most accurate guidance. However, the general steps remain consistent. Follow this step-by-step guide to successfully install your new metal flex extruder and get your Tevo Tarantula printing better than ever. Take your time, double-check each step, and don’t hesitate to consult online resources or seek help from experienced 3D printing enthusiasts if needed.
Removing the Stock Extruder
Carefully detach the existing stock extruder from your Tevo Tarantula. Start by disconnecting any wiring that connects the extruder motor to the mainboard, making sure to note the original wiring configuration. Unscrew the screws that hold the extruder assembly to the printer frame. Once the screws are removed, gently detach the extruder, being careful not to damage any other components. Keep all the screws and parts organized, as you may need them for the new installation. Now, you’re ready to install the new metal flex extruder.
Installing the New Metal Flex Extruder
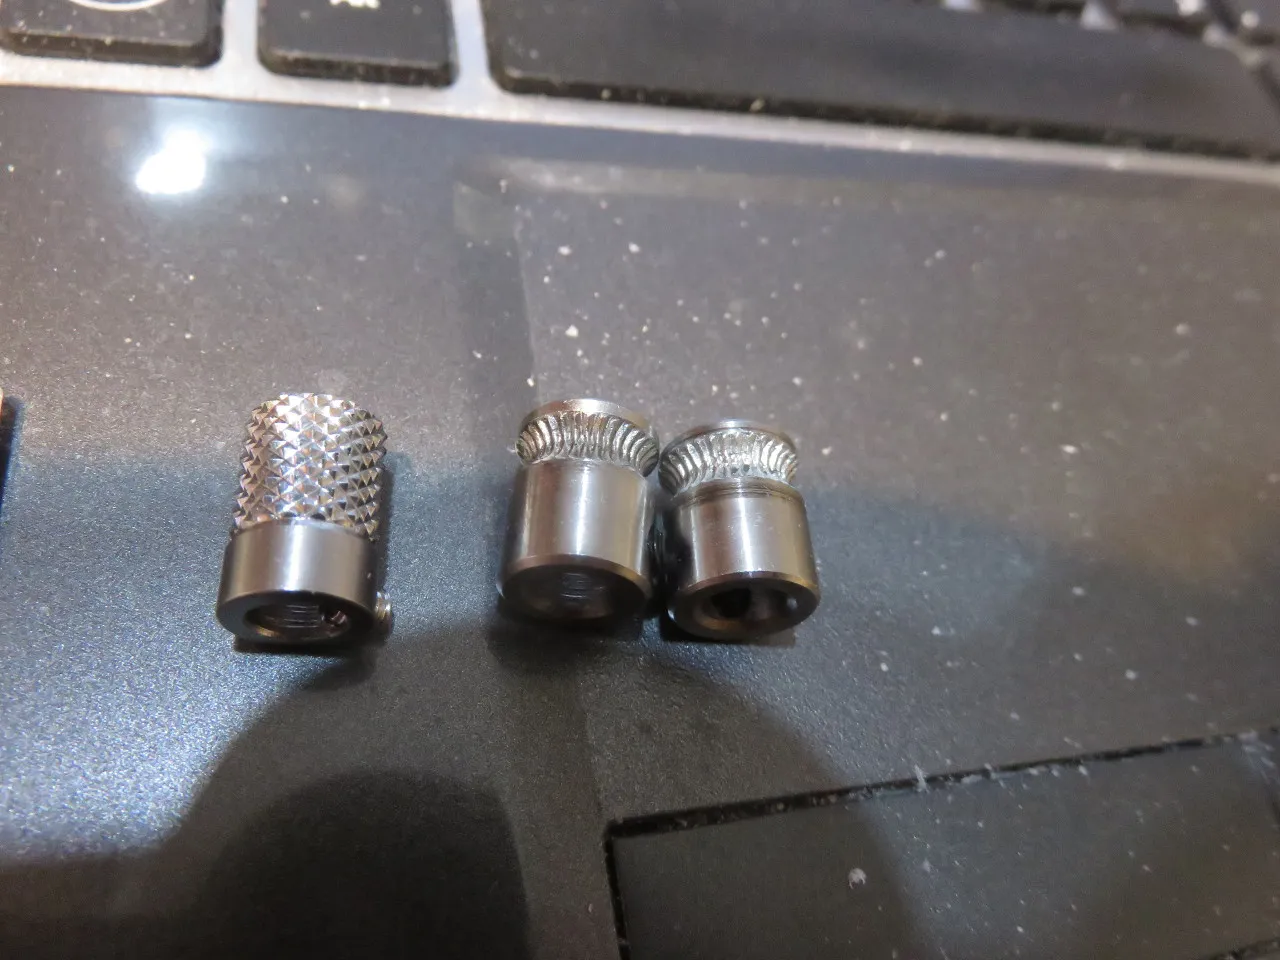
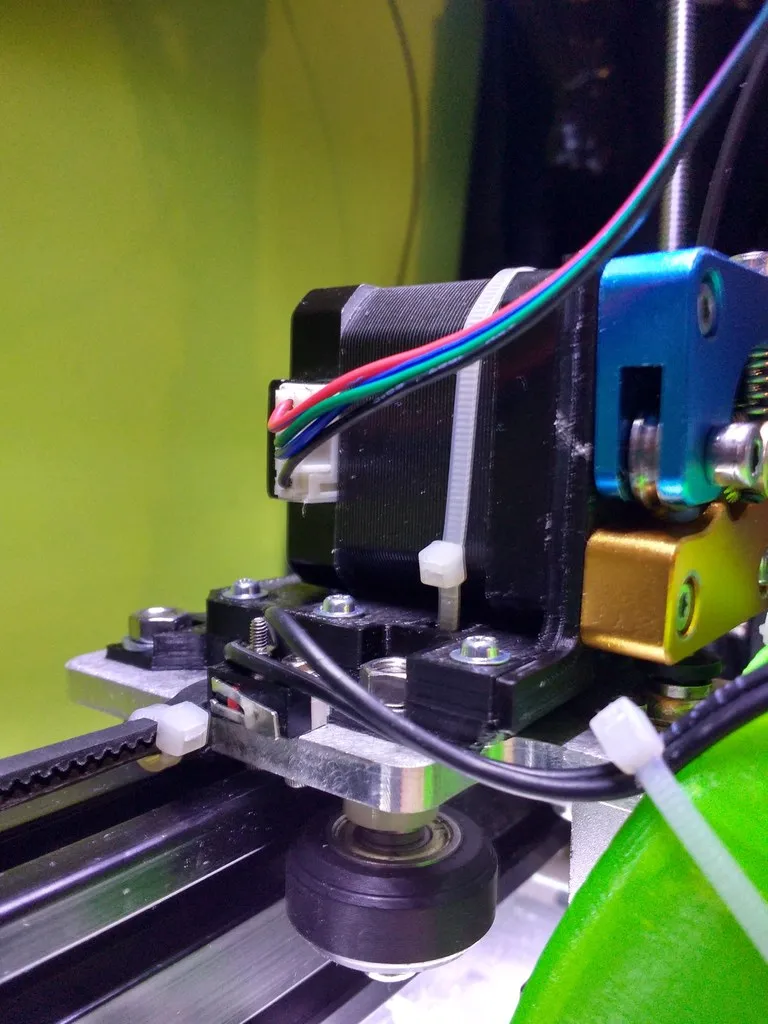
Attach the new metal flex extruder to the printer frame, aligning it with the mounting holes and using the appropriate screws provided in your kit. Ensure the extruder is securely mounted and doesn’t wobble. Reconnect the wiring to the extruder motor, referencing the notes you made during the removal of the original extruder, or consult the new extruder’s manual for proper wiring instructions. Double-check all connections to ensure they are secure. Make sure that the new extruder is correctly positioned in relation to the hot end. This will typically involve adjusting the distance between the extruder and the hot end. Once installed, the metal flex extruder is ready to be connected and the filament path is set up for optimal printing performance.
Connecting and Securing the Filament Path
The filament path must be correctly aligned and secured. This ensures the filament flows smoothly from the spool to the hot end without any obstructions. Some metal flex extruders use a Bowden tube, a flexible tube that guides the filament. Make sure this tube is securely connected to both the extruder and the hot end. Ensure that the tube is properly seated and that the fittings are tightly secured. This prevents filament leakage. The correct setup of the filament path is essential for smooth and reliable 3D printing. When you have the right configuration, the filament will reach the hot end without any issues, and printing can begin.
Adjusting Extruder Settings
After installing the metal flex extruder, you’ll need to adjust the settings in your 3D printer’s firmware or slicing software. These settings will ensure that the printer correctly controls the filament feeding process. Properly configured settings are necessary to ensure the smooth operation of your printer. Incorrect settings can cause various printing problems, such as under-extrusion or over-extrusion. Understanding and adjusting these settings is crucial for successful printing.
Calibrating the Extruder Steps
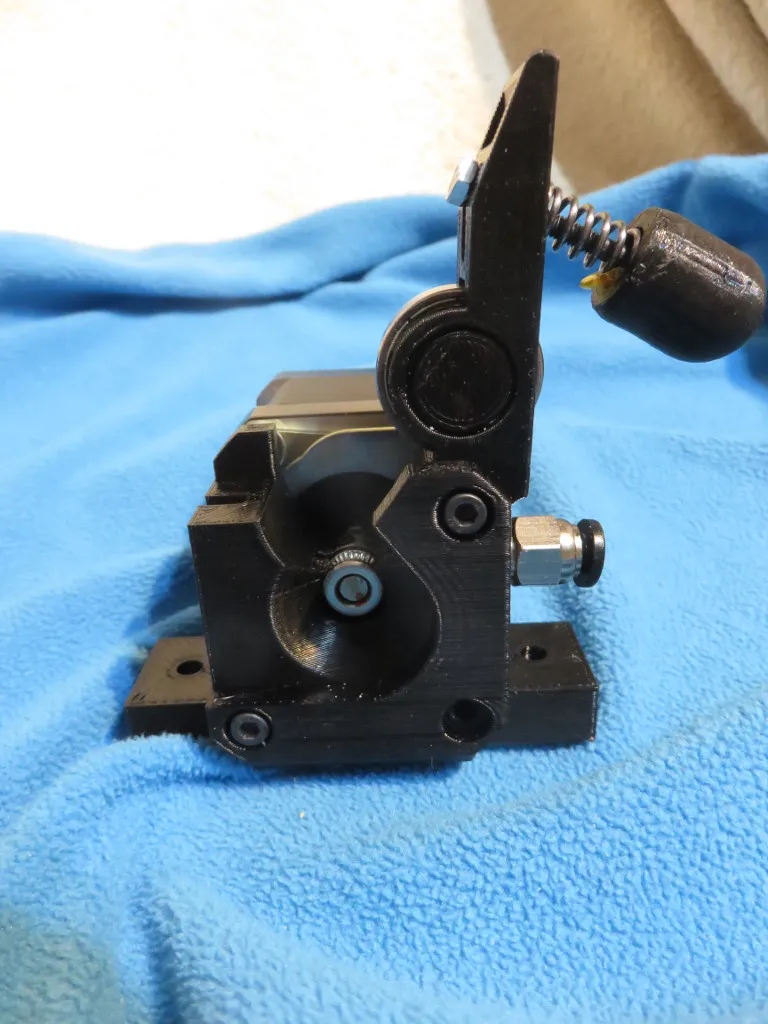
Calibrating the extruder steps is a critical step. It ensures that the extruder motor feeds the correct amount of filament for each movement. You can calibrate the extruder steps by measuring how much filament the extruder pushes through when commanded to extrude a specific length. You can do this by marking a point on the filament, commanding the extruder to feed a set amount, then measuring the actual distance the filament moved. Adjust the extruder steps per millimeter (mm) setting in your firmware or slicer to match the measured value. The correct calibration will prevent over- or under-extrusion, helping you achieve accurate prints.
Fine-Tuning Filament Flow
Fine-tuning the filament flow involves adjusting settings such as the extrusion multiplier and the flow rate in your slicing software. The extrusion multiplier fine-tunes the amount of filament extruded, adjusting for minor differences in filament diameter and other variables. The flow rate setting controls how quickly the filament is extruded, which affects the overall print quality. Printing test models and evaluating the results will help you fine-tune these settings. You can then assess the print quality and the dimensional accuracy. Adjust the settings until you achieve optimal results. This helps you get the perfect results and allows your printer to operate flawlessly.
Troubleshooting Common Issues
Even with a new metal flex extruder, you might encounter some issues. Learning how to troubleshoot these problems will save you time and frustration. From filament-related problems to mechanical issues, a quick understanding of what’s happening is important. This ensures a smooth printing experience. Addressing common issues head-on improves your overall printing process. Let’s explore some of the typical problems you might encounter and how to resolve them.
Filament Not Feeding Properly
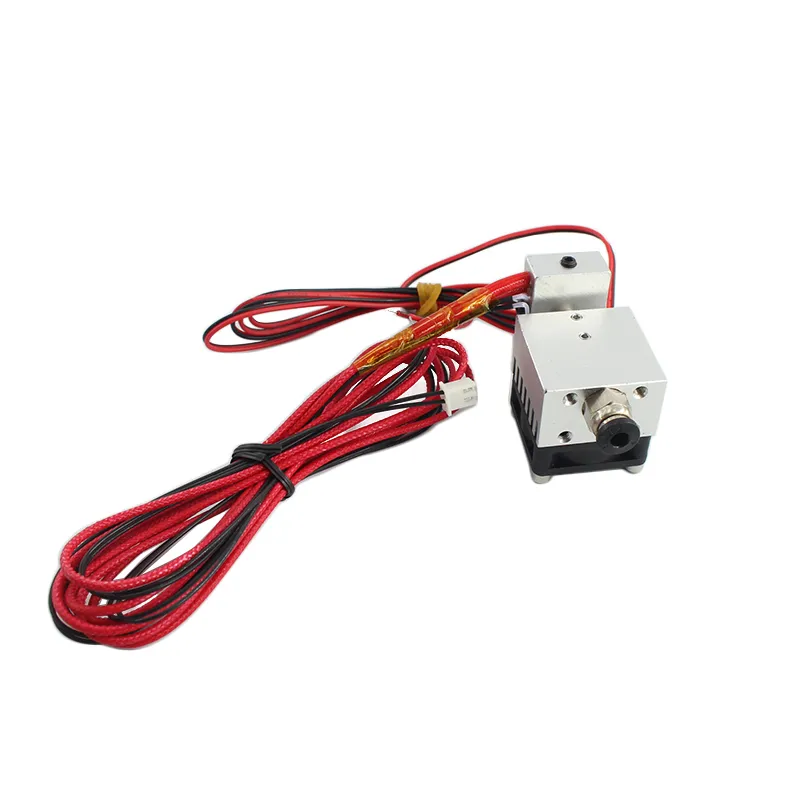
If the filament isn’t feeding properly, check the following. First, verify the filament spool is feeding smoothly. Ensure that the filament isn’t tangled or blocked. Make sure the extruder gear is clean and free from any debris. Adjust the extruder tension to provide the right grip on the filament without crushing it. If using a Bowden tube, check for any kinks or obstructions. If the problem persists, you may have to increase the hot end temperature. If these steps don’t work, ensure the extruder steps are calibrated correctly, and there are no clogs in the hot end. Taking these steps will help improve filament feeding and your printing experience.
Extruder Clicking or Grinding Sounds
Clicking or grinding sounds from the extruder often indicate that the extruder is struggling to push the filament through the nozzle. This can happen for several reasons. The hot end temperature may be too low for the filament. Increasing the temperature can solve this. The nozzle might be partially clogged. A nozzle cleaning tool can resolve this. The extruder gear might be slipping on the filament. Tightening the extruder tension or cleaning the gear can help. If using flexible filaments, the extruder may not be properly designed to handle them. By identifying and addressing the cause of these sounds, you will prevent failed prints and ensure smooth printing. Once you resolve the issue, you can continue printing without any further interruptions.
Poor Print Quality After the Upgrade
If the print quality is poor after installing the metal flex extruder, consider these troubleshooting steps. Ensure that the extruder steps are calibrated. Fine-tune the flow rate and extrusion multiplier in your slicer. Verify that the hot end temperature is correct for the filament you are using. Inspect the first layer adhesion and adjust the bed leveling accordingly. Check for any mechanical issues, such as loose belts or a wobbly print bed. It’s often necessary to experiment with different settings. By taking these troubleshooting steps, you can restore print quality. This also helps ensure the upgrade to a metal flex extruder provides the expected improvements. By troubleshooting the issues, you can enhance the print quality and ensure a high-quality output.
Maintenance and Care for Your Metal Flex Extruder
Regular maintenance and care will extend the lifespan of your metal flex extruder and ensure that it continues to perform optimally. The maintenance will prevent issues and ensure smooth and reliable 3D printing. Taking care of your extruder is essential to maintain high print quality and to enhance the reliability of your Tevo Tarantula.
Clean the extruder gear regularly to remove any accumulated filament debris. Periodically check and tighten any screws or fittings. Replace any worn-out components. When you are not using the printer, store the filament in a dry, sealed container. By following these simple steps, you will be able to get more out of your printer. These maintenance practices will ensure that the metal flex extruder continues to deliver consistent, high-quality prints for years to come.
In conclusion, upgrading your Tevo Tarantula with a metal flex extruder is a worthwhile investment that will enhance your 3D printing experience. By following the steps in this guide, you can easily install the new extruder and fine-tune your settings for optimal results. Remember to troubleshoot any issues and perform regular maintenance to keep your printer running smoothly. With the metal flex extruder, you’ll be able to print a wider range of filaments, improve print quality, and enjoy greater reliability. Happy printing!
