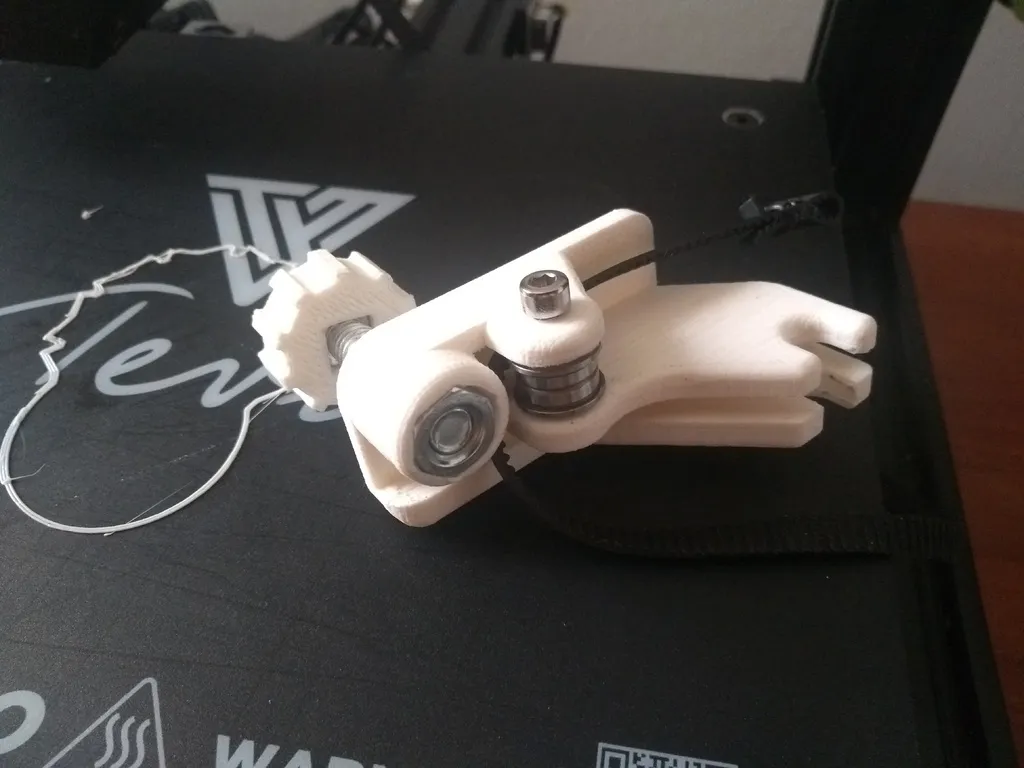
Tevo Tarantula X Axis Problems
The Tevo Tarantula is a popular 3D printer known for its affordability and ease of use, but like any machine, it can encounter issues. The X axis, responsible for the horizontal movement of the print head, is a frequent source of problems. Issues with the X axis can lead to layer shifting, inaccurate prints, and even complete print failure. This article will delve into the most common X axis problems and provide practical solutions to get your Tevo Tarantula printing smoothly again. Understanding the root causes of these issues is the first step in effective troubleshooting. We will cover motor problems, belt tension issues, endstop malfunctions, alignment problems, and potential obstructions that can hinder the X axis movement, ensuring a comprehensive guide to fixing your printer.
Common Tevo Tarantula X Axis Issues
Several recurring problems plague the Tevo Tarantula’s X axis. These problems can stem from mechanical issues, electrical faults, or even software misconfigurations. One of the most prevalent issues is motor failure or incorrect wiring which will cause the X axis to not move at all or move erratically. Belt tension, if too loose or too tight, can cause the print head to shift or vibrate, leading to poor print quality. The endstop, which tells the printer when the X axis has reached its limit, can also malfunction. Inaccurate endstop readings result in the print head not starting or moving properly. Furthermore, alignment issues, such as a tilted gantry or misaligned rails, can prevent smooth and precise X axis movement. Finally, interference from the nozzle or other components can also obstruct the X axis’s travel path, further complicating matters.
X Axis Motor Problems
The X axis motor drives the horizontal movement of the print head and is crucial for accurate printing. Motor problems often manifest as complete lack of movement, jerky motion, or inconsistent speed. Begin by checking the motor connections. Ensure the motor wires are securely connected to both the motor itself and the control board. Loose connections can interrupt the electrical signal and cause the motor to fail. Also, examine the motor driver on the control board. A faulty driver can prevent the motor from receiving the necessary power and instructions. In cases of motor failure, replacement may be necessary. Be sure to select a motor with the correct specifications, including voltage and current ratings. The motor can also be faulty due to overheating or wear and tear over time, which will cause your motor to work ineffectively.
Troubleshooting Motor Issues
To troubleshoot motor problems, start with the basics: inspect wiring and connections. Use a multimeter to test the motor’s continuity and check for shorts. If the motor is receiving power but not moving, the issue could lie in the control board’s motor driver. In this case, try swapping the X axis motor driver with another axis (like the Y axis) to see if the problem follows the driver. If the motor works on another axis, the original driver is likely faulty. If the problem persists, the motor itself may be damaged. Always ensure that the printer is turned off before making any electrical checks or component swaps. Also, confirm that the motor’s current settings in the printer’s firmware are correct for the motor type being used. Incorrect settings can cause the motor to overheat or malfunction.
Belt Tension Problems
The X axis belt plays a critical role in translating the motor’s rotation into the print head’s linear movement. Incorrect belt tension can cause a range of issues, from imprecise movements to layer shifting and print quality deterioration. If the belt is too loose, it may skip teeth on the pulleys, resulting in inaccurate positioning of the print head. Conversely, a belt that is too tight can put undue stress on the motor and bearings, leading to premature wear and potential failure. The right belt tension will produce a clear, crisp sound when plucked like a guitar string, neither too low nor too high in pitch. Problems like this will affect print quality.
How to Adjust Belt Tension
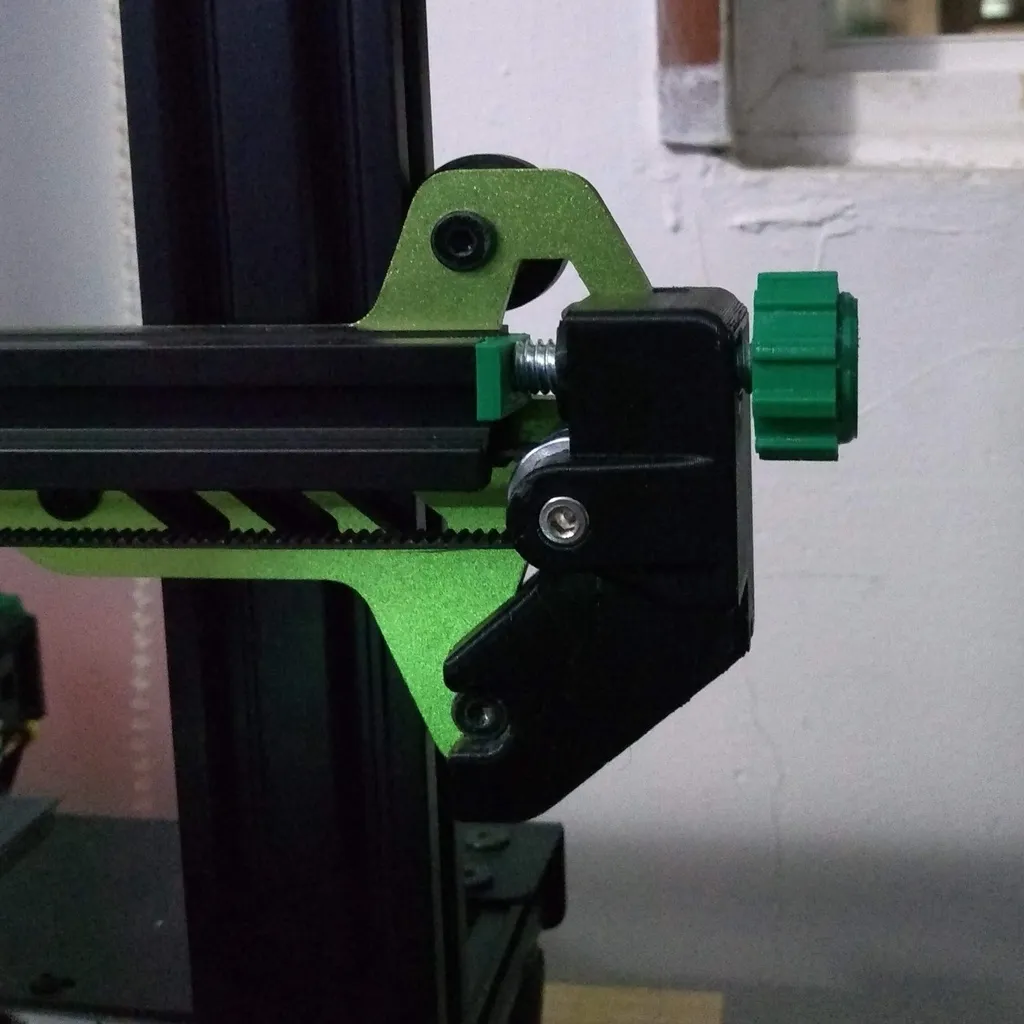
Adjusting the belt tension is a straightforward process, although it requires careful attention. Most Tevo Tarantula printers have an adjustable mechanism for the X axis belt. This mechanism typically involves a tensioner pulley or an adjustable bracket. To adjust the tension, loosen the screws holding the tensioner in place. Then, gently apply pressure to the belt, pulling it taut. Tighten the screws, ensuring the belt remains at the desired tension. Check the tension by gently plucking the belt along its length; it should produce a clear, mid-range tone. Be cautious not to over-tighten the belt, as this can damage the motor or bearings. Regular checks and adjustments of belt tension are essential for maintaining print quality and printer performance. Fine-tuning the belt tension can resolve many issues.
X Axis Endstop Issues
The X axis endstop is a small switch that tells the printer when the print head has reached the end of its travel along the X axis. The endstop is essential for homing the printer and establishing the correct starting position for each print. Issues with the endstop can cause the print head to fail to home properly, move erratically, or even collide with the printer’s frame. In many cases, the endstop may fail due to physical damage or electrical issues. Regular inspection of the endstop and its wiring is important. Also, ensure that the endstop is correctly positioned and triggered by the print head carriage.
Diagnosing Endstop Problems
Diagnosing endstop problems involves several steps. Firstly, visually inspect the endstop and its wiring for any signs of damage or wear. Check that the endstop switch is correctly aligned and triggers when the print head reaches the end of the X axis travel. Use a multimeter to test the endstop’s continuity when the switch is activated. If the endstop fails to trigger or shows incorrect readings, it may need to be replaced. If the wiring is damaged or loose, it may be causing intermittent problems, such as print head misalignment or incomplete homing. Inspect the wiring connections carefully and make any necessary repairs or replacements. Ensure that the endstop is correctly configured in the printer’s firmware to properly respond to the endstop signal.
X Axis Alignment Issues
Proper alignment of the X axis is critical for producing accurate prints. Misalignment can cause the print head to move unevenly, resulting in layer shifting, poor print quality, and even print failure. One common issue is a tilted gantry, where the X axis beam is not perfectly horizontal. The Tevo Tarantula can be prone to this problem if it is not correctly assembled or if the frame is not level. Misaligned linear rails or guide rods also contribute to alignment issues, causing the print head to bind or move erratically. Regularly checking and correcting the alignment of the X axis is crucial. Problems like this will ruin your 3d print.
Leveling the X Axis Gantry
Leveling the X axis gantry involves ensuring that the X axis beam is perfectly horizontal. Start by placing a level on the X axis beam and making adjustments to the Z-axis threaded rods on either side of the printer until the beam is level. Another method involves manually moving the print head to the same height on both sides and then measuring the distance from the print bed to the X axis beam on both sides. If the distances are different, adjust the Z-axis rods to bring the beam level. You may also need to adjust the Z-axis endstops to ensure that the nozzle is at the correct height relative to the print bed. Check the alignment of the linear rails or guide rods. Loosen the screws holding the rails in place. Then, move the print head back and forth along the X axis, making sure the rails move smoothly without binding. Once the alignment is correct, tighten the screws to secure the rails. This will ensure your prints will be aligned correctly.
Nozzle Interference with X Axis
The nozzle is a critical component in 3D printing and is responsible for extruding the filament. Sometimes the nozzle or other components of the print head can interfere with the movement of the X axis. Obstructions will cause the print head to collide with the printer’s frame or other components, leading to print failure. The most common source of interference is the nozzle itself, which may be too low or may be colliding with the print bed or other objects on the build plate. Verify that the nozzle is at the correct height relative to the print bed. Then, ensure that there are no objects, such as incorrectly placed clips, on the print bed that could interfere with the nozzle’s movement.
Checking for Obstructions
To check for obstructions, carefully inspect the entire path of the print head along the X axis. Examine the wiring, cooling fan ducts, and any other components that may be close to the moving print head. Make sure the wiring harnesses are properly secured and do not interfere with the X axis movement. Ensure that the cooling fan ducts are correctly positioned and do not obstruct the print head’s path. If you find any obstructions, remove them or reposition the affected components to allow the print head to move freely. Verify the print bed is clean, and no loose debris may be obstructing the movement. Ensure the X-axis belt is not rubbing against anything along its path, as friction can impede smooth operation and affect print accuracy. Regular inspections help prevent these problems.
Additional Tips for a Smooth X Axis
Beyond the specific issues and solutions, there are several general tips for maintaining a smooth and reliable X axis on your Tevo Tarantula. Keep the printer clean and free from debris. Regularly lubricate the linear rails and guide rods with a suitable lubricant to reduce friction and wear. Check the printer’s firmware settings to ensure that the X axis motor current and acceleration settings are optimized for your specific motor and hardware. Make sure the printer is placed on a stable, level surface to minimize vibrations and ensure accurate printing. Regularly check all screws and fasteners for tightness, and tighten them as needed. Taking care of your Tevo Tarantula will guarantee optimal performance and help you avoid many common X axis issues. By following these tips, you can minimize problems and maintain optimal print quality, ensuring years of reliable 3D printing.
